Create Stunning Wall Art That Looks Like It Came From a Boutique
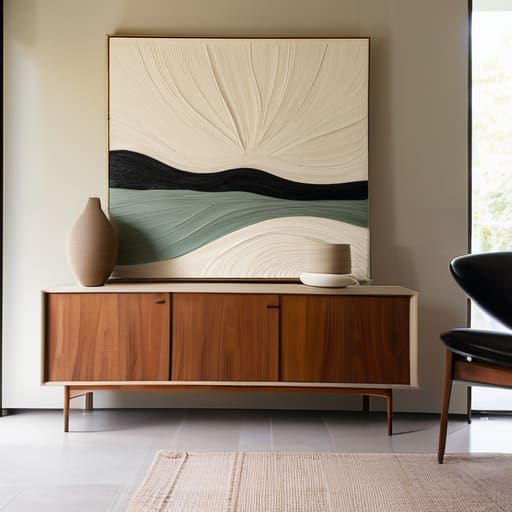
I was standing in the middle of a massive home decor aisle last week, staring at a $150 “minimalist” canvas print, and I honestly just felt exhausted. It’s this weird, unspoken rule that if you want your apartment to look curated and intentional, you have to drain your savings account at a big-box retailer. But here’s the thing: most of that stuff is mass-produced junk that lacks any actual soul. If you’re looking for how to make wall art that doesn’t feel like a carbon copy of an influencer’s living room, you don’t need a massive budget or a degree in fine arts. You just need to stop looking at what’s for sale and start looking at what you already have lying around your space.
In this guide, I’m skipping the expensive kits and the “aesthetic” tutorials that require a professional studio setup. Instead, I’m sharing the low-stakes, high-reward methods I use to decorate my own place using thrifted finds, scraps, and even things from my garden. We’re going to talk about practical ways to create pieces that actually reflect your personality without breaking your bank account. Let’s get into it.
Guide Overview
Tools & Supplies
- Paintbrushes (various sizes for application)
- Painter's tape (for creating clean geometric lines)
- Pencil (for sketching initial designs)
- Canvas or wooden panel (1 piece)
- Acrylic paint (set of multiple colors)
- Acrylic medium or varnish (1 bottle for sealing)
Step-by-Step Instructions
- 1. First, clear some space on your floor or a table and gather your supplies, but don’t go running to a craft store just yet. Check your junk drawer, your recycling bin, or that pile of old magazines you’ve been meaning to flip through. You’re looking for textures and colors that actually speak to you—think old postcards, interesting fabric scraps, or even those dried flowers from a bouquet that’s long since passed its prime.
- 2. Once you’ve got your materials, you need to decide on a vibe. Are you going for a chaotic, maximalist collage or something more stripped-back and minimalist? I usually find that if I try to make something too “perfect,” I just end up frustrated, so I let the materials dictate the direction. Lay everything out in a big pile and see what pieces naturally want to sit next to each other.
- 3. Now, start composing your layout without any glue involved. This is the most important part because it’s where you actually design the piece. Move things around, overlap edges, and play with negative space. If it feels too cluttered, pull a few pieces out; if it feels empty, find a way to layer something in. I like to take a photo of the layout on my phone before I commit, just so I can see if the composition actually works from a different angle.
- 4. Once you’re happy with the arrangement, it’s time to make it permanent. If you’re working with paper or flat scraps, a simple glue stick or a bit of tacky glue works wonders. If you’re using heavier items like fabric or dried botanicals, you might need to use a bit of washi tape or even some heavy-duty mounting putty. Just don’t go overboard with the glue—nobody wants a messy, congealed disaster once it dries.
- 5. If you don’t have a fancy frame, don’t sweat it. That’s where the “thrifted finds” part of my life comes in handy. Go to a local secondhand shop and look for frames that are ugly but have a good shape; you can always sand them down or paint them a matte color later. Alternatively, you can just hang your collage directly on the wall using small wooden clothespins and a bit of twine for a low-effort, organic look that feels much more lived-in than a heavy glass frame.
- 6. Finally, hang your creation and step back. Don’t worry if it’s not perfectly centered or if one edge is a little wonky. That’s the beauty of making something with your own hands—the imperfections are what make it actually feel like home rather than something plucked straight out of a showroom catalog. Give it a few days to settle into your space and see how it changes the energy of the room.
Budget Friendly Home Decor Projects for Real Life
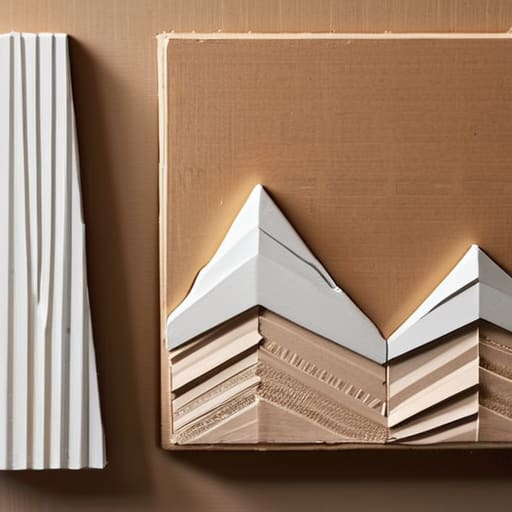
Look, I get it. You see these massive, gallery-style installations on Pinterest and think, “I can’t afford that.” But honestly? Most of those “aesthetic” setups are just expensive versions of things you can do with a handful of scraps. If you’re looking for more budget friendly home decor projects to fill those awkward gaps in your apartment, start looking at your trash—I mean, your recycling. Old cardboard can be layered to create depth, or you can grab some leftover acrylics from a craft fair and experiment with texture paste art methods using a bit of joint compound from the hardware store. It’s much cheaper than buying pre-made textured pieces, and it actually feels more intentional.
Don’t feel like you need a dedicated studio to get started, either. I usually just clear off my kitchen table and dive in. If you’re feeling stuck, try some simple abstract wall art tutorials on YouTube; they’re great for when you want something that looks sophisticated but doesn’t require you to be a master illustrator. The goal isn’t to create a masterpiece for a museum; it’s just to make your space feel less like a rental and more like a home.
Modern Wall Decor Diy Using What You Already Own
Honestly, the biggest mistake I see people make is thinking they need a trip to a high-end craft store to get that “gallery look.” You don’t. If you’ve got some leftover acrylics from a hobby you abandoned six months ago or even some old fabric scraps, you’re already halfway there. I’m a huge fan of modern wall decor DIY that leans into imperfection. Instead of trying to paint a perfect landscape, try some simple texture paste art methods using a bit of joint compound from the hardware store or even just thick, leftover house paint. It adds that dimensional, expensive-looking vibe without the designer price tag.
If you’re feeling a bit more adventurous, don’t sleep on mixed media art supplies you likely have in a junk drawer. I love layering old newspaper clippings, dried botanicals from the garden, or even torn pieces of brown paper bags under a thin wash of paint. It creates this layered, soulful aesthetic that looks intentional rather than messy. The goal isn’t to create a masterpiece for a museum; it’s about making something that fills your space and actually means something to you.
5 ways to keep your art projects from becoming expensive clutter
- Stop chasing trends. Before you buy a single thing, look at your actual space and the stuff you already love. If you’re making art just because a certain “aesthetic” is blowing up on TikTok, you’re going to regret it in three months when you’re bored.
- Scour the thrift stores for more than just art. I’m talking about weirdly shaped plates, old wooden trays, or even interesting textiles. Sometimes the “art” isn’t the drawing itself, but how you display something that already has character.
- Embrace the “imperfect” look. If you’re painting or sketching, don’t stress about it looking like a museum piece. A little bit of texture or a slightly wonky line makes it feel lived-in and authentic, rather than something mass-produced in a factory.
- Use what’s in your junk drawer. Old maps, pages from a thrifted book that’s falling apart, or even cool dried botanicals from your garden can be framed to look high-end without costing a cent.
- Think about the scale, not just the quantity. I’d much rather have one large, meaningful piece made from a repurposed fabric scrap than a “gallery wall” of ten tiny, cheap prints that just make the room feel noisy and cluttered.
The Real Bottom Line
Stop waiting for a “decorating budget” to magically appear; your best art is usually sitting in a thrift store bin or tucked away in your own junk drawer.
If it feels performative or looks like a carbon copy of an influencer’s living room, skip it—aim for pieces that actually tell a story about your life.
Perfection is a trap that leads to wasted money, so just start small, keep it functional, and remember that your home is meant to be lived in, not just looked at.
Final Thoughts on Making It Your Own
At the end of the day, making your own wall art isn’t about achieving some polished, Pinterest-perfect look that feels untouchable. It’s about taking those scraps of fabric, those old thrifted frames, or even just some interesting dried plants from the garden and turning them into something that actually holds meaning. We’ve covered how to repurpose what you already own, how to keep things budget-friendly without sacrificing style, and how to lean into a modern aesthetic using zero-cost materials. Whether you’re working with a tiny studio apartment or just trying to brighten up one corner of a room, the goal is to stop waiting for a windfall of cash and start using the creative tools you already have right in front of you.
Please, don’t let the fear of making a “mistake” stop you from picking up a paintbrush or a glue gun. Real life is messy, and your home should reflect that—it should feel lived-in and personal, not like a sterile showroom. If a DIY project turns out a little wonky or the colors aren’t exactly what you imagined, that’s okay. It’s part of the process, and honestly, it just adds more character to the piece. Focus on the joy of creating something with your own two hands and let the rest fall where it may. You don’t need a massive budget to build a space that truly feels like home.
Frequently Asked Questions
I don't have any fancy tools or a drill; what are some ways to hang my DIY art without ruining my apartment walls?
Look, I’ve been there. I live in a rental where my landlord treats every tiny nail hole like a personal insult. If you don’t have a drill, don’t sweat it. Command strips are your best friend, but honestly, even those can peel paint if you’re not careful. Try using poster putty for lighter pieces, or if you’re feeling a bit more “vintage,” lean on some decorative washi tape. It looks intentional and comes off clean.
How do I make sure my random collection of thrifted finds actually looks cohesive on a wall instead of just looking like clutter?
The trick is to stop thinking about “matching” and start thinking about “flow.” If everything is a different shape and color, your eyes will just bounce around like crazy. Pick one common thread—maybe it’s all wooden frames, or a similar earthy color palette, or even just a consistent spacing between pieces. I usually lay everything out on the floor first. If it looks like a junk drawer, pull something out. Aim for a rhythm, not a pattern.
What should I do if I try a DIY project and it ends up looking a bit "crafty" or messy instead of intentional?
Honestly? Take a breath. We’ve all been there—you start with a vision of “minimalist chic” and end up with something that looks like a third-grader’s art project. If it feels too “crafty,” stop trying to fix it and start framing it. A simple, clean frame can turn a messy painting into intentional abstract art. Or, lean into the imperfection. If it’s truly a disaster, strip it down and try again. Progress over perfection, always.







