Transform Your Kitchen With a Fresh Coat of Cabinet Paint
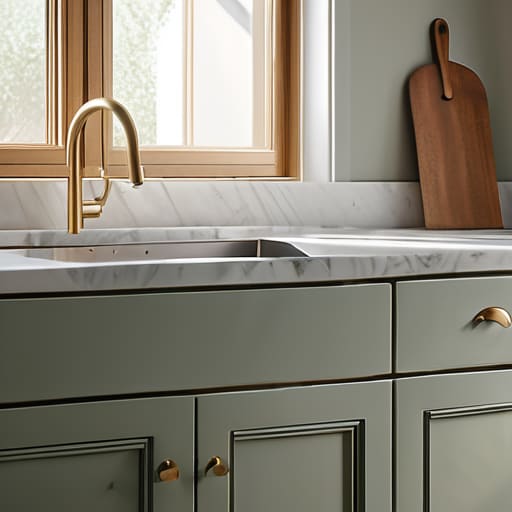
I was sitting on my kitchen floor last Tuesday, surrounded by half-empty cans of primer and a mountain of sandpaper, staring at a cabinet door that looked more like a textured mess than a DIY success story. We’ve all seen those polished, high-budget home renovation videos where someone effortlessly transforms a kitchen in a montage, but let’s be real: the actual process of learning how to paint kitchen cabinets is usually much messier, much more expensive, and way more frustrating than the influencers make it look. You don’t need a professional workshop or a thousand-dollar sprayer to get a decent finish; you just need to stop chasing that unattainable aesthetic and start working with what you’ve actually got.
In this guide, I’m skipping the fluff and the overpriced tool recommendations to give you a realistic roadmap. I’ll show you how to prep your surfaces without losing your mind and which budget-friendly finishes actually hold up to real-life spills and scrapes. This isn’t about achieving a showroom-perfect masterpiece; it’s about a functional, beautiful refresh that fits your budget and your actual lifestyle. Let’s get into the grit of it so you can finally love your space again.
Guide Overview
Tools & Supplies
- Screwdriver/Drill for removing hardware
- Sandpaper (120-220 grit) for smoothing surfaces
- High-quality synthetic brush for edges
- Small foam roller for smooth finish
- Degreaser or TSP (1 bottle) for cleaning
- Primer (1-2 gallons) for adhesion
- Cabinet-grade paint (1-2 gallons) for durability
- Painter's tape (1 roll) for masking
Step-by-Step Instructions
- 1. First things first, you have to clear everything out. I know, it’s a pain, but you can’t fake a good finish if you’re trying to paint around a toaster or a spice rack. Empty the cabinets completely and take the doors off the hinges. It’s much easier to work when you aren’t fighting against gravity or trying to squeeze a brush into a corner. Grab a few scrap pieces of cardboard to lay them on so you don’t scratch your counters while you work.
- 2. Now, we get to the part everyone hates: cleaning. Kitchen cabinets are basically magnets for years of accumulated grease and cooking oils, and if you don’t get that off, your paint is going to peel faster than a bad sunburn. Use a good degreaser or even just some warm water and Dawn dish soap. Scrub them down until they don’t feel slippery anymore. If you skip this, you’re basically just painting over dirt, and that’s a waste of your time and money.
- 3. Once they are bone-dry, you need to sand them. You don’t need to sand them down to the raw wood—that’s overkill and way too much work. You just want to scuff the surface so the primer actually has something to grab onto. A medium-grit sandpaper works best here. If you see any deep gouges or scratches, fill them with a bit of wood filler now, let it dry, and sand that smooth too.
- 4. This is where people usually try to cut corners, but please, don’t skip the primer. If you go straight to the colored paint, you’ll end up doing five coats and still seeing the old wood color peeking through. Use a high-quality primer designed for cabinets or smooth surfaces. It acts like the glue between your prep work and your final look. Apply it in thin, even layers so you don’t end up with those annoying drips.
- 5. Now for the actual fun part: the paint. I highly recommend using a cabinet-specific paint or a high-quality enamel rather than just a random gallon of wall paint from a clearance bin. Wall paint is too soft and will stick to your plates if you aren’t careful. Use a small foam roller for the large flat areas to get a smooth finish, and a high-quality synthetic brush for the corners and details. Remember: two thin coats are always better than one thick, gloopy one.
- 6. The hardest part of this whole process is going to be the waiting. You’ll want to hang those doors back up immediately because you’re excited, but if you do, they’ll likely stick to the frames and ruin your hard work. Let them dry for at least 24 to 48 hours before you even think about putting them back. If you can, leave them in a well-ventilated area so the fumes don’t make your whole apartment smell like a hardware store for a week.
Smart Prepping How to Prep Cabinets for Painting Without Burnout
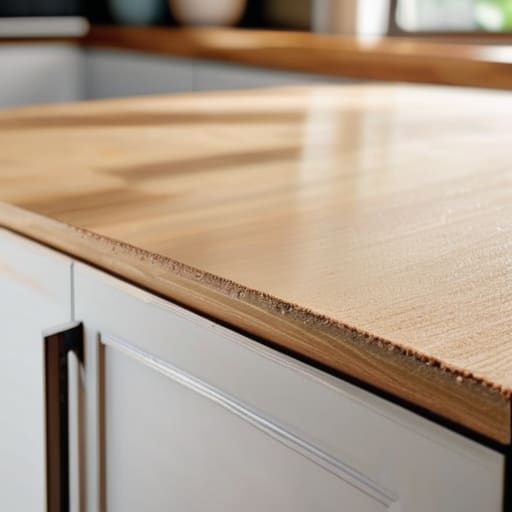
Look, I’ve been there—staring at a pile of sandpaper and a bucket of degreaser, wondering why I didn’t just move to a new apartment. The secret to not losing your mind is realizing that prep isn’t just a chore; it’s the only way to ensure you don’t end up with a sticky, peeling mess in six months. When you’re figuring out how to prep cabinets for painting, don’t try to do it all in one marathon session. Break it into chunks. Spend one evening just cleaning everything down with a heavy-duty degreaser, and save the actual sanding for the next day when you actually have the mental bandwidth to focus.
Also, please don’t skip the sanding step just because you’re tired. You don’t need to sand them down to bare wood, but you do need to scuff the surface so the new layer actually has something to grab onto. If you’re worried about the cost, don’t go overboard on a massive cabinet painting supplies list right away. Just focus on getting a decent grit of sandpaper and a solid cleaner. If you do the grunt work right now, you won’t have to spend your entire weekend fixing mistakes later.
Choosing Your Arsenal a No Nonsense Cabinet Painting Supplies List
Look, I’ve seen too many people dive into a project like this only to realize halfway through that they’re missing a crucial tool, and suddenly they’re stuck with a half-finished kitchen and a drained bank account. You don’t need a professional-grade studio, but you do need a solid cabinet painting supplies list that actually covers the essentials. Skip the fancy sets; just grab a high-quality microfiber roller for those flat surfaces and a decent angled brush for the detail work. If you’re worried about the finish looking messy, investing in a small foam roller is the absolute best way for preventing brush marks on cabinets without needing a degree in fine arts.
When it comes to the actual liquid in the cans, don’t let the marketing fool you. You’ll likely hear a lot of debate regarding cabinet primer vs paint, but here’s the reality: the primer is your unsung hero. It’s what makes the paint actually stick to your old, greasy surfaces. When searching for the best paint for kitchen cabinets, look for something specifically labeled as “enamel” or “cabinet grade.” It dries harder, which is a total lifesaver when you’re trying to avoid chips from daily use.
Five Things I Wish I Knew Before I Started Sanding
- Don’t try to do the whole kitchen in one weekend. Seriously. I thought I was being a hero, but by Sunday afternoon, I was staring at half-painted doors and felt like crying. Break it down—maybe just the upper cabinets first. It keeps the kitchen somewhat usable and saves your sanity.
- Test your colors on actual cabinet doors, not just a tiny swatch on the wall. Lighting in a kitchen is weird; what looks like a dreamy sage green in the store might look like a muddy swamp once it’s sitting under your fluorescent lights next to your toaster.
- Embrace the “thin coat” rule. It is so tempting to slap on a thick layer of paint to get it done faster, but that is a one-way ticket to a sticky, textured mess that never truly dries. Two or three thin, boring layers will look a thousand times more professional than one heavy, gloopy one.
- Check your hardware before you even open the paint can. If your hinges are crusty or your handles are dated, this is the time to decide if you’re cleaning them up or swapping them out. There’s no point in a beautiful new finish if the old, mismatched hardware makes the whole thing look cluttered.
- Patience is actually your most important tool. I know you want to start cooking immediately, but if you rush the drying time between coats, you’re going to end up with fingerprints in your finish. Let it dry. Walk away. Go read a book. It’s worth the wait.
The Real Talk Summary
Don’t let “perfect” be the enemy of “done”—if your prep work isn’t Pinterest-worthy, just make sure it’s clean and sanded enough so the paint actually sticks.
Invest in a decent primer and a good brush rather than a massive kit of fancy gadgets you’ll only use once; your arms (and your bank account) will thank you.
Pace yourself through the process so you don’t end up staring at a half-painted kitchen in a mid-project meltdown; it’s a marathon, not a sprint.
The Finish Line (And What Comes Next)
Look, if you’re staring at a pile of doors and feeling a little overwhelmed, just remember that you’ve already done the hardest part. You’ve moved past the paralysis of planning and actually got your hands dirty. By focusing on a solid prep job, choosing tools that actually work instead of just looking pretty on a shelf, and taking it one cabinet at a time, you’ve avoided the common pitfalls that turn DIY projects into expensive nightmares. It’s not about achieving some flawless, showroom-ready perfection that you see on Pinterest; it’s about taking something tired and making it functional and fresh for your actual, daily life.
At the end of the day, your kitchen doesn’t need to look like a staged set for a magazine to be beautiful. It just needs to feel like yours. There is something so incredibly grounding about looking around your space and knowing you built that feeling with your own two hands and a bit of grit. Don’t let the fear of a small drip or a slightly uneven edge stop you from making a change. You don’t need a massive renovation budget to transform your home; you just need the courage to start and the patience to see it through. You’ve got this.
Frequently Asked Questions
How long do I actually have to wait before I can start using my kitchen again without ruining the finish?
Look, I know the hunger is real, but please—don’t go grabbing a cereal bowl the second the paint feels dry to the touch. “Dry” and “cured” are two very different things. You can probably do light cleaning or use the counters in 24 hours, but wait at least a week before you start being heavy-handed with the cabinets. If you rush it, you’ll end up with sticky fingerprints or peeling paint, and that’s just more work for us.
Is it worth it to sand everything down, or can I get away with just using a good degreaser and a high-quality primer?
Look, I get the temptation to skip the sanding—it’s tedious and honestly kind of soul-crushing. If you’re tight on time, you can get away with a deep degreasing and a really solid, high-adhesion primer. But if you want this to actually last without peeling in six months, a light scuff-sand is non-negotiable. It creates the “teeth” the paint needs to grab onto. Don’t skip the work just to save an hour; you’ll regret it later.
What’s the best way to deal with those annoying little details like hinges and handles without spending three days on one single door?
Look, don’t let the hardware turn this into a three-day marathon. The secret is to stop treating every screw like a sacred relic. Grab a small plastic bin—an old Tupperware works fine—and group your hinges and handles by door as you take them off. Label them with masking tape. If a screw is stripped or gross, just toss it and buy a cheap pack of replacements. Don’t overthink it; just keep moving.