Build a Practical Compost Bin for Your Backyard
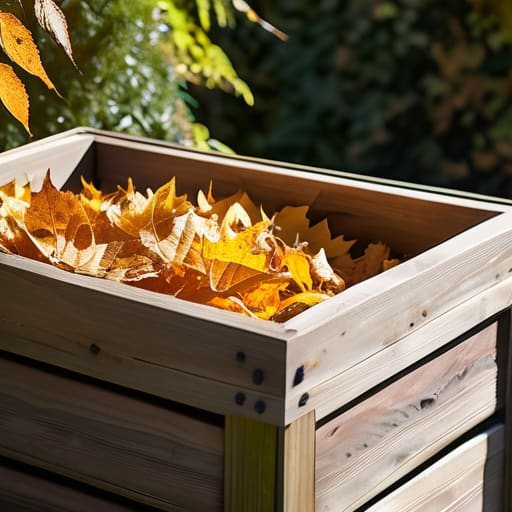
I used to think that if I wanted to start composting, I’d need to drop eighty bucks on a sleek, rotating tumbler that looks like something out of a high-end garden catalog. I spent way too long scrolling through aesthetic lifestyle blogs, feeling guilty because my tiny apartment balcony didn’t have room for a “professional” setup. But here’s the truth: you don’t need a designer system to turn your food scraps into gold for your plants. Learning how to make a compost bin shouldn’t feel like a luxury investment; it should be as simple as repurposing what’s already sitting in your garage or at the bottom of your recycling bin.
In this guide, I’m stripping away all the unnecessary fluff and expensive gear. I’ll show you exactly how to build a functional, low-maintenance system using scraps and secondhand finds that actually work for small spaces. We aren’t aiming for a Pinterest-perfect garden setup here; we’re aiming for real-world sustainability that fits your budget and your actual life. Let’s get your hands a little dirty and get started.
Guide Overview
Tools & Supplies
- Drill with wood screws bit
- Handsaw or circular saw
- Measuring tape
- 4 wooden pallets or untreated lumber
- 1 box of exterior wood screws
- Hardware cloth or wire mesh
- Zip ties or heavy-duty wire
Step-by-Step Instructions
- 1. First, scout your space. You don’t need a massive backyard; if you’re like me and living in a small apartment or a tiny rental, a shaded corner of a balcony or a small patch of dirt near the door works perfectly. Just make sure it’s somewhere that gets a little bit of airflow but isn’t right in the middle of your walkway where you’ll trip over it every morning.
- 2. Forget those $100 designer compost tumblers you see on Instagram. Instead, go find an old plastic storage bin or a heavy-duty wooden crate. If you’re using a plastic bin, grab a drill and make plenty of small holes in the sides, bottom, and lid. This isn’t just for show—your compost needs to breathe to avoid smelling like a dumpster.
- 3. Now, let’s talk about the foundation. You can’t just throw scraps into a bin and hope for the best. Start with a thick layer of “browns”—think dried leaves, shredded cardboard from your recent deliveries, or even old newspaper. This creates a base layer for drainage and ensures your bin doesn’t turn into a soggy, stinky mess.
- 4. Once your base is set, it’s time to add the “greens.” This is where your kitchen scraps come in: coffee grounds, veggie peels, and fruit cores. The trick is to keep the balance. For every handful of nitrogen-rich greens you toss in, try to add two handfuls of carbon-rich browns. If it starts smelling weird, you’ve probably added too many greens and not enough dry, crunchy material.
- 5. Give it a little love with a quick stir. Every week or so, use a small garden trowel or even a sturdy stick to turn the pile. You’re basically aerating the mix to help the microbes do their job. If you notice the pile looks a bit dry, sprinkle a little water on it—it should feel like a wrung-out sponge, not a swamp.
- 6. Be smart about what you feed it. I tell everyone the same thing: keep the meat and dairy out. I know, it’s tempting to toss that leftover pasta sauce in there, but that’s a fast track to attracting pests and creating a smell you definitely don’t want near your living space. Stick to plant-based scraps and keep it simple.
- 7. Finally, be patient. Composting isn’t an overnight miracle; it’s a slow, intentional process. Depending on the weather and how often you turn it, you’ll start seeing dark, crumbly, earthy-smelling soil in a few months. When it looks like rich, black gold, you’re ready to use it on your houseplants or that community garden plot.
Choosing Best Materials for Compost Bins Without Breaking the Bank
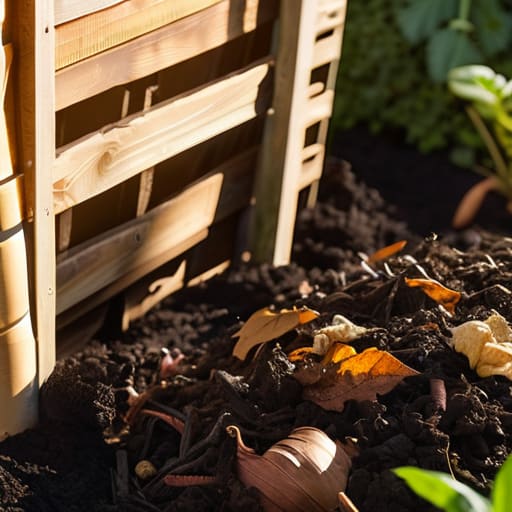
Look, I’ve seen way too many people get paralyzed by choice because they think they need a high-tech, rotating tumbler to actually be successful. You don’t. When you’re looking into the best materials for compost bins, the goal isn’t aesthetic perfection; it’s durability and airflow. If you’re scavenging for parts, old wooden pallets are your best friend. They’re usually free on Facebook Marketplace or behind local shops, and the gaps between the slats provide natural aeration methods for compost without you having to drill a hundred tiny holes. Just make sure the wood isn’t treated with harsh chemicals—I always check for those little stamps on the side.
If you’re working with a smaller space, like my tiny balcony, a heavy-duty plastic storage bin works wonders too. Just grab a drill and make sure you create plenty of ventilation. Whatever you pick, don’t overthink the compost bin dimensions and design. As long as it’s big enough to hold a decent amount of scraps and small enough that you can actually turn it without throwing your back out, you’re golden. Focus on what’s sturdy and already sitting in your garage.
Smart Compost Bin Dimensions and Design for Real Life
Look, I know those massive, industrial-sized bins look great in Pinterest photos, but unless you have a literal backyard, they’re just going to sit there collecting rain and looking sad. When you’re thinking about compost bin dimensions and design, you really need to scale it to your actual life. If you’re working with a tiny balcony or a small patio, a massive wooden crate is overkill and will probably just become a breeding ground for unwanted guests. I usually recommend something that fits into a corner without making your space feel claustrophobic. Aim for a size that’s big enough to hold a decent amount of scraps, but small enough that you can actually turn it without breaking your back.
The shape matters just as much as the size. If you go with a tall, narrow design, you’ll need to be way more intentional about your aeration methods for compost because air won’t circulate well in a deep, cramped column. I’m a huge fan of wider, shallower setups—think of it like a low-profile tray. It makes it so much easier to reach in, mix things up, and ensure your scraps aren’t just turning into a soggy, stinky mess at the bottom. Keep it simple and keep it manageable.
Five Ways to Keep Your Bin from Becoming a Total Mess
- Don’t get obsessed with the “perfect” ratio of greens to browns. If it smells like a dumpster, you probably have too many wet scraps (greens) and need to toss in some shredded cardboard or dried leaves. If nothing is happening, you’re likely too dry—just add some kitchen scraps or a bit of water.
- Stop overthinking the location. You don’t need a dedicated “garden corner” if you don’t have one. Just find a spot that’s easy to access; if it’s tucked away in a far corner of a yard you never visit, you’re going to forget about it by week three.
- Air is your best friend. You don’t need a fancy aerator tool; just grab a garden fork or even a sturdy stick and give the pile a quick stir once a week. It breaks up the clumps and keeps the decomposition moving so it doesn’t turn into a soggy, anaerobic mess.
- Keep it small enough to actually manage. I see people building these massive, multi-stage wooden systems and then realizing they can’t keep up with the maintenance. Start with a simple bin that fits the amount of scraps you actually produce in a week.
- Watch out for what you’re throwing in. I know it’s tempting to toss everything in, but keep the meat, dairy, and oils out of your DIY bin. Unless you want to deal with unwanted pests and some seriously unpleasant smells, stick to veggie scraps, coffee grounds, and paper.
The TL;DR on Composting Without the Stress
Forget the aesthetic. You don’t need a designer cedar bin to make good soil; a repurposed crate or a simple DIY setup works just as well if it gets the job done.
Scale matters. Don’t build something massive that you can’t manage; start small with a design that actually fits your space and your weekly food scraps.
Use what you have. Before you hit “add to cart” on some expensive garden gadget, check your garage or the curb—the best tools for this are usually things you already own.
Stop Overthinking It and Just Start
At the end of the day, you don’t need a high-tech, $200 rotating tumbler to make an impact on your footprint. We’ve covered how to scavenge for free materials, how to size your bin so it actually fits your space without becoming a massive eyesore, and how to keep the design functional rather than just pretty. Whether you’re using an old plastic crate, some scrap wood from a curb alert, or even just a designated corner of your garden, the goal is the same: turning waste into something useful. Just remember that the most important part isn’t the perfect construction; it’s about finding a setup that is actually sustainable for your lifestyle so you don’t abandon it two weeks from now.
I know it can feel a little intimidating to start something new, especially when it feels like you have to do it “perfectly” to be effective. But composting isn’t about achieving some flawless, aesthetic eco-lifestyle you see on a curated feed. It’s messy, it’s a little bit earthy, and it’s a learning process. My advice? Just get your hands a little dirty and see how it goes. You are building a system that works with nature instead of against it, and that is a massive win. You’ve got this, and your soil will definitely thank you later.
Frequently Asked Questions
What do I do if my DIY bin starts smelling like something died in my backyard?
First off, don’t panic—it doesn’t mean you’ve failed. A stinky bin usually just means your pile is too wet or lacks airflow. If it smells like rot, you’ve likely got too many “greens” (kitchen scraps) and not enough “browns” (dried leaves, shredded cardboard, or even old newspaper). Toss in a big handful of those dry materials to soak up the moisture and stir it all up to let it breathe.
How much actual work is this going to take every week—am I going to be stuck turning it constantly?
Honestly, I get the anxiety. Nobody wants another chore that feels like a second job. If you’re doing it right, it shouldn’t take more than ten minutes a week. You don’t need to be out there turning it every single day like some high-maintenance hobby. Just give it a quick stir with a pitchfork or a sturdy stick once a week to get some air in there. That’s it. Keep it simple.
Can I actually put things like coffee grounds or eggshells in there, or am I going to attract a bunch of pests?
Yes, you absolutely can—and please do. Coffee grounds and eggshells are gold for your soil. The trick to avoiding a pest party is all about how you layer them. Don’t just toss them on top like a snack for rats; bury them deep under a layer of “browns” like dried leaves or shredded cardboard. As long as you aren’t dumping in meat, dairy, or oily scraps, you shouldn’t have any issues.