Furniture Upcycling Tips to Get a High-end Designer Look
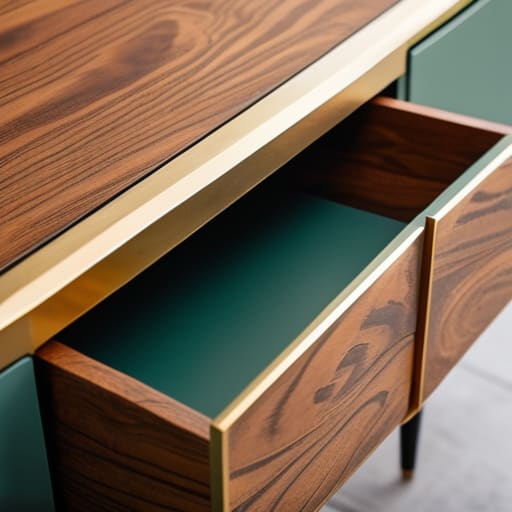
I was walking past a thrift store last week and saw this gorgeous, mid-century modern dresser that looked like it had been through a literal war zone. Most people would have just kept walking, thinking it was destined for a landfill, but all I could see was the potential hiding under those scratched layers of cheap veneer. We’ve been conditioned to think that if something isn’t “perfect” or brand new, it’s trash, but that mindset is exactly why our apartments end up looking like carbon copies of an expensive showroom. I’m tired of the pressure to constantly buy new, mass-produced pieces just to keep up with a trend. Instead, I’ve spent way too many weekends covered in sawdust and paint fumes finding the best upcycling furniture ideas to turn “junk” into something that actually has a soul.
In this post, I’m breaking down five specific ways you can breathe new life into the pieces you already own—or the ones you find for next to nothing on the curb. We aren’t talking about those over-the-top, unrealistic DIY projects that require a professional workshop and a massive budget. No, I’m sharing practical, low-cost transformations that anyone can do, even if you’ve never picked up a screwdriver in your life. By the end of this, you’ll have the confidence to stop scrolling through furniture sites and start seeing the hidden gems sitting right in your own living room.
The "Ugly" Nightstand Glow-Up
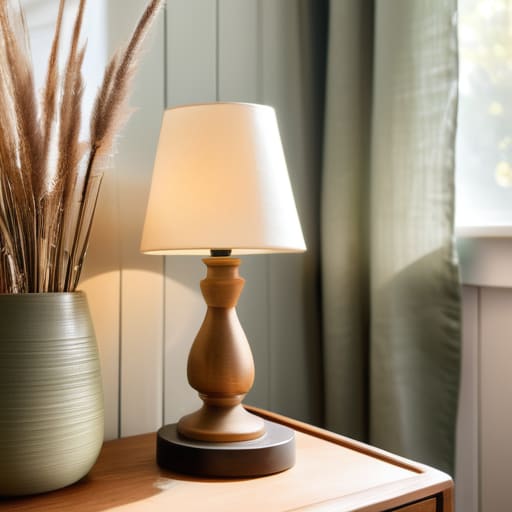
We’ve all seen those bulky, dark wood nightstands at thrift stores that look like they belong in a haunted Victorian mansion. Instead of walking past them, grab one. A quick sand and a coat of sage green or muted terracotta paint can completely shift the vibe from “creepy antique” to “modern boho.” It’s honestly the easiest way to add personality to your bedroom without spending a dime on new decor.
Transform Your Books into a Side Table
If you have a stack of oversized coffee table books that are just collecting dust, stop treating them like clutter and start treating them like furniture. You can actually create a makeshift pedestal or side table by stacking them neatly and placing a flat tray on top. It’s a zero-cost solution for those awkward corners in your apartment where a real table just won’t fit.
Give Old Chairs a Second Life with Fabric
I see so many people tossing out wooden chairs just because the seat cushion is ripped or the fabric is an eyesore. Please, don’t do that. Most of the time, you can fix a chair with nothing more than a staple gun and some thrifted fabric. I love hunting through fabric remnants or even using an old linen shirt that I no longer wear to reupholster a dining chair.
The Magic of New Hardware
This is my absolute favorite “lazy” upcycling trick because it requires almost zero manual labor. If you have a dresser or a desk that feels boring or outdated, don’t go out and buy a whole new unit. Just change the handles. It sounds almost too simple, but replacing generic plastic pulls with something textured or vintage-inspired can make a piece feel high-end.
Use Stenciling to Hide Scratches
Let’s be real: most of the furniture we find second-hand has some battle scars. Scratches, water rings, or weird dents are part of the story, but sometimes they’re just plain annoying. Instead of trying to perfectly match the stain—which is a total nightmare—I prefer to lean into it with a stencil design. A simple geometric pattern or a subtle botanical print can mask those imperfections beautifully.
The Bottom Line
Stop waiting for the “perfect” piece to show up; the best projects are the ones you start with the stuff you already have sitting in your guest room or basement.
You don’t need a professional workshop to make this work—a basic sander, some decent paint, and a bit of patience are way more important than expensive power tools.
Focus on function over aesthetics; if a piece of furniture looks cool but doesn’t actually fit your lifestyle or your budget, it’s just more clutter you don’t need.
Stop Waiting for "Perfect"
At the end of the day, whether you’re just slapping some new hardware on a tired dresser or diving into a full-on sanding and staining project, the goal isn’t to create something that looks like it belongs in a high-end showroom. It’s about taking something that was destined for a landfill and giving it a second chance to be actually useful in your home. We’ve covered everything from simple paint refreshes to more involved structural fixes, and the common thread is that you don’t need a professional workshop to see results. You just need a little bit of patience, some basic tools, and the willingness to get your hands a little dirty along the way.
Please, stop scrolling through Pinterest looking for that unattainable, ultra-curated aesthetic that costs a fortune to replicate. Your home doesn’t need to look like a staged set; it needs to feel like you. There is so much quiet satisfaction in looking at a side table and knowing you saved it from the curb and made it yours. So, grab that old piece gathering dust in the corner, trust your gut, and just start. You don’t have to get it right on the first try—perfection is overrated, but a home filled with things that have a story? That’s where the real magic happens.
Frequently Asked Questions
I found a piece of furniture on the curb, but it's a bit beat up—how do I know if it's actually worth the effort to fix or if it's just junk?
Honestly, I’ve definitely rescued a few things that ended up being more headache than it was worth. Before you haul it home, do the “shake and sniff” test. If it wobbles like it’s about to collapse or smells like damp basement mold, leave it. Check the joints—if the wood is cracked or the particle board is swelling, it’s junk. If it’s just scratched or has ugly hardware, though? That’s a goldmine.
What are some beginner-friendly tools I should grab so I don't end up spending more on supplies than the furniture was actually worth?
Look, I’ve been there—standing in the hardware aisle feeling like I need a professional workshop just to fix a nightstand. Don’t do it. Start with a basic sander (or just some sandpaper if you have the patience), a multi-bit screwdriver, and a decent way to clean things, like TSP or even just dish soap and water. Grab a cheap set of brushes and maybe a small roller. That’s it. Keep it minimal so you actually finish the project.
How do I deal with weird smells or stains on old wood without having to buy a bunch of expensive, heavy-duty chemicals?
Honestly, don’t go running to the cleaning aisle for those harsh, neon-colored sprays. Most of them just strip the finish and smell like a hospital. For weird odors, a little baking soda works wonders—just sprinkle it on, let it sit, and vacuum it up. For stains, a tiny bit of mild dish soap and warm water is your best friend. If it’s really stubborn, a paste of vinegar and water can help, but test a small spot first so you don’t ruin the wood.







