How to Seamlessly Patch Holes in Your Drywall
I was moving a heavy thrifted dresser into my living room last Tuesday when I heard that dreaded, hollow thud—the sound of my drywall giving up the ghost. My first instinct was to panic and assume I’d need to call a professional or spend a small fortune on a massive DIY renovation kit, but that’s just not how we do things here. Learning how to patch a hole in the wall doesn’t have to be this intimidating, expensive ordeal that leaves your apartment looking like a construction zone. Honestly, most of the “expert” tutorials online make it seem way more complicated than it actually is, usually involving tools you’ll only use once and a budget you definitely didn’t plan for.
I’m not here to sell you on some high-end, professional-grade overhaul; I just want to help you fix the damage so you can get back to living your life. In this guide, I’m breaking down the actual essentials you need to get the job done right using stuff you can probably find at a local hardware store for a few bucks. We’re going to focus on a method that is functional, affordable, and quick, ensuring your walls look seamless without any of the performative perfectionism.
Guide Overview
Tools & Supplies
- Putty knife (for applying compound)
- Sanding block (for smoothing surfaces)
- Utility knife (for trimming edges)
- Spackling compound (1 small tub)
- Adhesive wall patch (1 mesh patch)
- Sandpaper (1 pack, fine grit)
- Touch-up paint (1 small container)
Step-by-Step Instructions
- 1. First things first, you need to assess the damage. If it’s just a tiny little dent from a door handle or a nail hole, you can probably skip the heavy lifting. But if it’s a real crater, you’ll need to clean up the edges first. Take a utility knife or even just some coarse sandpaper and gently scrape away any loose bits of drywall or crumbling plaster around the hole. If you leave those jagged bits hanging on, your patch is going to look like a mountain range instead of a smooth wall.
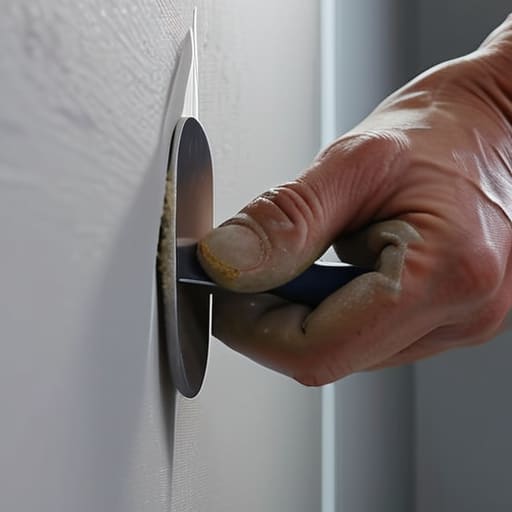
- 2. Grab a small tub of spackle—and I mean a small one, don’t let them upsell you on the jumbo bucket you’ll only use once. Using a putty knife, start filling the hole. The trick here is to apply pressure as you spread it, making sure the material actually gets deep into the cavity rather than just sitting on the surface like a thick layer of frosting. You want to aim for a surface that is relatively level with the rest of the wall.
- 3. Now, resist the urge to make it perfect on the first pass. Spackle tends to shrink a little bit as it dries, which is totally normal. It’s much better to do two thin layers than one giant, gloopy mess that takes three days to dry. Let the first layer dry completely (check the tub for timing, but usually, an hour or two does the trick), and then apply a second, even thinner layer to smooth everything out.
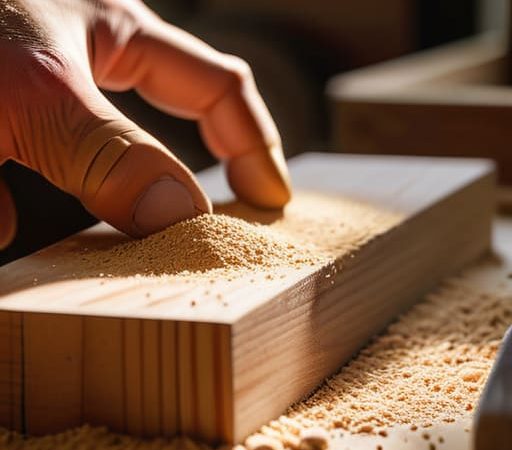
- 4. Once you’re sure it’s bone dry, it’s time for the part everyone hates: sanding. Don’t go overboard with a heavy-duty power sander; you’ll just end up with a cloud of white dust that settles into your coffee. Use a fine-grit sandpaper and gentle, circular motions to buff the patch until you can’t feel the transition between the wall and the patch with your fingertips. If you can feel it, you’ll see it once the light hits it.
- 5. Before you even think about touching a paintbrush, you have to wipe away all that fine white dust. Grab a slightly damp microfiber cloth or even just a dry rag and wipe down the area thoroughly. If you paint directly over the dust, the paint won’t stick, and you’ll end up with a patchy, peeling disaster that’ll make you want to move houses.
- 6. If your wall has a texture (like that classic orange peel stuff), you might need a can of spray texture to match it before painting. If it’s a flat wall, you’re golden. When you’re ready to paint, don’t just slap it on. Use a small roller or a sponge to mimic the existing pattern of the wall. This prevents that tell-tale “shiny spot” where the repair happened.
- 7. Finally, dab a little bit of paint on with a dry brush or a sponge to blend the edges into the surrounding area. It’s all about seamless integration. If you do this right, you won’t even remember there was a hole there in the first place, and you won’t have spent a fortune on a professional handyman to fix a mistake that was totally fixable.
Ditch the Pro Using a Drywall Patch Kit for Small Holes
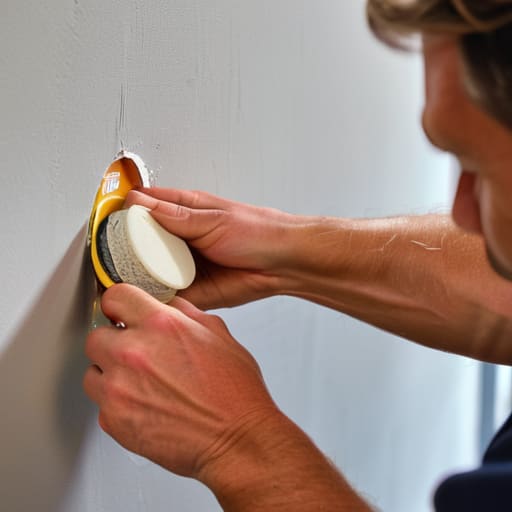
Look, I get it. If you’ve ever looked at a gaping hole in your wall and felt an immediate sense of dread, you’re not alone. Your first instinct might be to call a handyman, but unless that hole is the size of a basketball, you really don’t need to spend a fortune on professional labor. If you’re dealing with something minor—like a door handle dent or a loose nail—grabbing a drywall patch kit for small holes is honestly the most efficient way to go. These kits are designed for people like us who want the job done without a trip to a specialized construction supply store.
The secret to making it look like you actually know what you’re doing lies in the prep. Most kits come with a bit of wall repair mesh tape, which is a lifesaver for keeping the patch from cracking later. Once you’ve applied your compound, don’t rush the process. The biggest mistake I see is trying to fix everything in one thick layer. Instead, do a thin coat, let it dry completely, and then lightly sand it down. It’s all about patience and a steady hand.
Mastering Spackling Compound Application and Wall Repair Mesh Tape
If you’re dealing with something a bit more substantial than a tiny nail prick, you’re going to need to get a little more tactical with your spackling compound application. Don’t try to be a hero and shove a massive glob of wet compound into the hole all at once; it’s tempting, but you’ll just end up with a mountain of mess that takes forever to dry. Instead, aim for thin, manageable layers. I usually apply one layer, let it settle, and then go back in for a second pass to level things out. It’s much easier to add more than it is to scrape off a giant, dried-up crater later.
When it comes to stability, don’t skip the wall repair mesh tape. It acts like a little internal skeleton for your patch, preventing those annoying cracks from popping up a week later. Once the tape is secure and your compound is dry, the real secret is in how you sand drywall smooth. Use a fine-grit sandpaper and move in light, circular motions. You aren’t trying to grind the wall down; you’re just gently blurring the edges so the repair becomes invisible to the naked eye.
A Few Pro-Tips (That Won't Cost You a Fortune)
- Don’t skip the sanding, but don’t go overboard. You want the patch to feel flush with the wall, not like a mountain stuck to your drywall. A quick, light sand with fine-grit sandpaper is your best friend here.
- Test your color before you commit. If you’re planning on painting over the patch, grab a tiny sample of your wall color first. There is nothing more soul-crushing than finishing a repair only to realize you’ve created a giant, mismatched white blotch on your accent wall.
- Less is actually more when it comes to spackle. I know the urge is to glob it on to fill the hole faster, but that just leads to more cracking and more sanding later. Do thin, manageable layers. It’s a marathon, not a sprint.
- Clean the area first. I’m talking about actually wiping away the dust and loose debris around the hole before you start. If you apply compound over a layer of dust, it’s not going to bond properly, and your hard work will literally just peel right off in a week.
- Check your lighting. It’s so easy to miss a tiny bump or a dip when you’re just using your overhead light. Grab a flashlight or use your phone light and shine it sideways across the wall (the “grazing” method) to see if the surface is actually smooth before you call it a day.
The TL;DR on Fixing Your Walls
Don’t overcomplicate it—for tiny nail holes, a little spackle and a damp rag are all you really need to get the job done.
Invest in the right small tools, like a cheap putty knife and some sandpaper, rather than buying those massive, overpriced DIY kits that just sit in your junk drawer.
Patience is your best friend here; let the compound dry completely before you even think about sanding or painting, otherwise, you’re just going to end up with a bumpy mess.
You’ve Got This
At the end of the day, whether you went the route of a quick-fix mesh patch or took the time to carefully layer spackle and sand it down, you’ve officially tackled a task that used to feel intimidating. Just remember: it’s all about the prep work. Don’t rush the drying process, and don’t be afraid to do a second, thinner coat if the surface still feels a little uneven. The goal isn’t to create a museum-quality masterpiece; it’s about making that annoying hole disappear so you can stop staring at it and get back to actually enjoying your space.
I know it feels like a chore, and honestly, sometimes it is. But there is something weirdly grounding about fixing something with your own two hands instead of just calling a professional or, worse, letting the damage sit there and weigh on your mind. Your home doesn’t need to be perfect to be a sanctuary, and it definitely doesn’t need a massive renovation budget to feel cared for. Small, intentional repairs like this are how we build a life that feels stable and sustainable. So, grab your sandpaper, finish that last bit of sanding, and give yourself some credit for being a capable human.
Frequently Asked Questions
Do I really need to sand it down every single time, or can I just layer more spackle on top if it looks uneven?
Look, I get the urge to just keep layering—it feels faster, right? But honestly, no. If you just keep piling spackle on top of an uneven surface, you’re just creating a giant, bumpy mountain that’s going to look ridiculous once you hit it with paint. Take the extra five minutes to sand it down now. It’s way easier to fix a slightly uneven patch than it is to fix a massive, textured mess later.
How do I stop the patch from being super obvious once I finally go to paint over it?
The biggest mistake people make is thinking they can just slap paint on and call it a day. If you don’t sand it, you’ll see a literal bump. Sand that patch until it’s flush with the wall—I’m talking smooth, almost unnervingly smooth. Also, pro tip: don’t just paint the spot. Feather the edges out with a slightly damp sponge or a dry brush so the new paint blends into the old. If you don’t, you’ll just end up with a weird, shiny polka dot.
Is there a way to fix this without buying a whole new tub of compound when I only have one tiny dent to deal with?
Honestly, don’t let the big tubs tempt you. If it’s just a tiny dent or a nail hole, skip the massive container and head to the hardware store for a tiny pre-mixed spackle tube—the kind that looks like a tube of toothpaste. They usually cost a few bucks and won’t dry out in your drawer before you use it. It’s way more efficient for small fixes and keeps your budget (and your cabinet space) intact.