Transform Old Furniture With These Refinishing Techniques
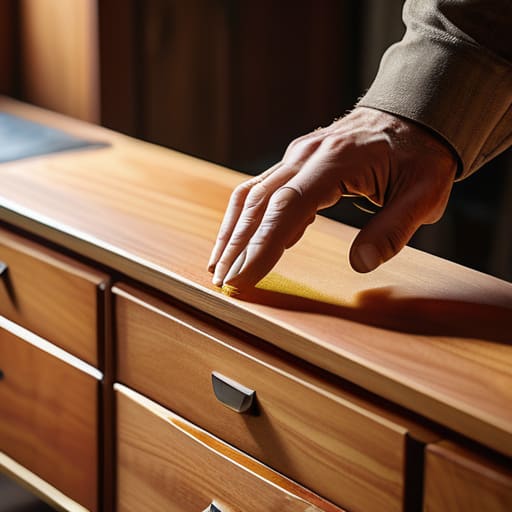
I was staring at a scratched-up, mid-century side table I’d snagged from a curb alert last Tuesday, feeling that familiar wave of “what have I gotten myself into?” Most DIY influencers make it look like you need a professional-grade workshop and a thousand dollars in specialized equipment just to fix a scuff. But honestly? That’s a total lie. Learning how to refinish furniture shouldn’t feel like you’re trying to rebuild a spaceship in your tiny apartment. I’ve spent years realizing that the best results usually come from the grit and the tools you already have tucked away in a junk drawer or a dusty corner of the garage, not from some overpriced, aesthetic sanding kit.
In this guide, I’m stripping away the performative fluff and giving you the actual, unvarnished process. I’ll show you how to prep, sand, and stain your pieces without breaking your budget or losing your mind. We’re focusing on sustainable, realistic steps that work for real people living in real spaces. Whether you’re working with a thrifted find or an old heirloom, I’m going to help you breathe new life into your home using functional, affordable methods that actually stick.
Guide Overview
Tools & Supplies
- Sandpaper (various grits for smoothing)
- Screwdriver (for removing hardware)
- Paintbrush or Foam roller (for applying finish)
- Tack cloth (for removing fine dust)
- Wood cleaner (1 bottle to prep surface)
- Wood primer (1 can to seal wood)
- Paint or Stain (1 quart for color)
- Protective topcoat (1 can for durability)
Step-by-Step Instructions
- 1. First things first, clear a workspace. You don’t need a professional workshop, but you do need a flat surface and some good lighting so you aren’t guessing where the scratches are. Grab some old newspapers or a cheap drop cloth to protect your floor—I usually just use an old sheet I don’t mind getting dusty. Most importantly, clean the piece thoroughly with a bit of dish soap and water to get rid of any oils, wax, or pet hair that might mess with your finish later.
- 2. Now for the part everyone dreads: sanding. You don’t need a high-end electric sander unless you’re doing a massive wardrobe; a simple sanding block and some sandpaper will do the trick. Start with a coarser grit to strip away that old, gross varnish, and then move to a finer grit to smooth it out. The goal isn’t to sand it down to raw wood every single time, but just to scuff the surface enough so the new layer actually has something to grab onto.
- 3. Once you’re done sanding, you have to get every single speck of dust off. If you leave dust behind, your final finish is going to feel like sandpaper. I personally like using a tack cloth because it’s cheap and effective, but if you don’t want to run to the hardware store, a slightly damp microfiber cloth works too. Just make sure the wood is completely dry before you move to the next step.
- 4. This is where you decide on your vibe. Are you going for a full color change with paint, or do you want to highlight the natural grain with a stain? If you’re painting, use a primer first—don’t skip this, or you’ll be repainting three times to hide the old color. If you’re staining, remember that wood is unpredictable. I always recommend testing a tiny bit of stain on the bottom or back of the piece first so you don’t end up with a dark blotch you can’t undo.
- 5. Apply your color in thin, even layers. I know it’s tempting to glob it on to get it done faster, but that’s a recipe for drips and uneven patches. It’s much better to do two thin coats than one thick, messy one. If you’re using a brush, follow the direction of the wood grain, not against it. It takes a little more patience, but it makes a massive difference in how professional it looks.
- 6. Finally, you need to seal the deal. This is what protects your hard work from coffee rings and scratches. Depending on the piece, you might want a matte wax for a vintage look or a polycrylic if it’s a dining table that’s going to see a lot of action. Apply the sealant slowly and carefully, and try to work in a dust-free area so you don’t end up with tiny little hairs stuck in your finish forever. Let it cure for as long as the label says—even if you’re dying to use it immediately.
Smart Wood Stripping Techniques for Your Existing Tools
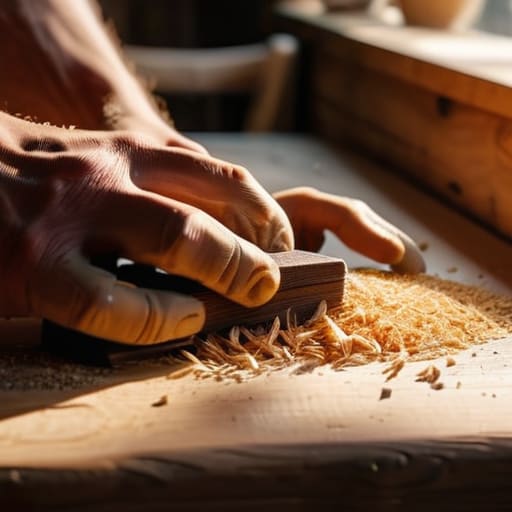
Before you go diving into the deep end with heavy-duty chemicals, let’s talk about being smart with what’s already in your utility drawer. If you’re dealing with a piece that has a thin layer of finish, you might not even need a massive tub of harsh stripper. Sometimes, removing old varnish can be done much more gently by using a bit of heat or even just some steady, manual scrubbing with a stiff nylon brush. I’ve learned the hard way that rushing this part with aggressive chemicals often ends up gouging the wood, which just creates more work for you later.
If you do decide to go the chemical route, don’t just slather it on and walk away. The trick is to work in small, manageable sections so the product doesn’t dry out before it’s actually done its job. Once the finish starts bubbling up, use a dull putty knife or even an old credit card to scrape it away—this helps prevent deep scratches. This stage is all about wood grain preparation; you want a clean, even surface so that when you finally get to the staining part, the color actually takes instead of just sitting on top of a greasy mess.
The Real Truth About Removing Old Varnish Safely
Look, I’m going to be real with you: the internet loves to make removing old varnish look like this effortless, aesthetic montage. In reality, if you aren’t careful, you end up with a sticky, gummy mess that ruins the wood underneath. One mistake I made early on was trying to rush the process with cheap, harsh chemicals that smelled like a literal nightmare and left my small apartment feeling toxic for days. If you’re working in a tight space like I do, please prioritize ventilation. Open every window you have and, if you can, wear a decent mask. It’s not about being dramatic; it’s about not passing out halfway through a project.
Also, don’t get caught in the trap of thinking more “power” equals better results. Whether you’re dealing with heavy furniture lacquer vs polyurethane, the goal is patience, not brute force. If you see the finish starting to lift or bubble, that’s your cue to slow down. You want to peel that old layer away cleanly so you don’t end up needing a massive wood grain preparation session later just to fix the gouges you accidentally made.
Five ways to save your sanity (and your wallet) while refinishing
- Don’t go overboard with the sandpaper; you don’t need a ten-step progression of grits to get the job done. Start with something medium to get the bulk of the old finish off, and only move to the fine stuff if you actually see scratches. Most of the time, you’re just wasting paper and effort.
- Test your stain on a scrap piece or even the underside of the furniture first. I know it’s tempting to just dive in, but nothing kills my mood faster than realizing a “natural oak” stain actually looks like muddy orange once it hits the wood.
- Stop trying to sand every single nook and cranny by hand if you can avoid it. If you have an old toothbrush or even a stiff-bristled dish brush, use that to get into the carvings. It saves your wrists from cramping up and prevents you from accidentally sanding through the wood grain.
- Keep your workspace realistic. You don’t need a professional studio; just clear off your kitchen table or a corner of the floor and lay down some old bedsheets you don’t care about anymore. It makes the cleanup way less intimidating when you aren’t worried about ruining your “good” rug.
- Embrace the imperfections. If you find a small knot or a tiny dent after you’ve stripped the old finish, don’t panic and think the whole project is ruined. That’s just character. A little bit of wood filler can fix a lot, but honestly, a piece that looks a little lived-in is much more my vibe than something that looks like it came out of a factory.
The Bottom Line: Keep It Real, Keep It Simple
Don’t let the “perfect” Pinterest projects intimidate you; the goal is a piece of furniture that looks loved and functional, not a museum-grade masterpiece that cost you three months of rent.
Stop looking for the “magic” expensive chemical stripper and start looking at what’s already in your utility closet—most of the time, a little patience and the right sandpaper are more effective than a $50 specialized kit.
Prioritize your safety and your budget by working in small, manageable stages rather than trying to rush through the whole thing in one afternoon and ending up with a mess you can’t fix.
The Finished Product (and What It Actually Means)
Look, I know the process can feel a bit overwhelming when you’re staring at a pile of sandpaper and half-empty stain cans, but we’ve covered the essentials. We talked about using the tools you already have, stripping that old varnish without making a huge mess, and being smart about how you prep the wood. The goal wasn’t to turn you into a professional carpenter overnight; it was to show you that you don’t need a massive workshop or a huge budget to see real results. By focusing on the fundamentals—like a clean strip and a steady hand—you’ve already done the hardest part of the job.
At the end of the day, that slightly imperfect chair or side table is worth so much more than something brand new from a big-box store. There’s a specific kind of magic in knowing you breathed life back into something that was headed for a landfill. Don’t sweat the tiny scratches or the spots where the grain is a little uneven; those are just signs of a piece that has a story. My advice? Stop chasing the Pinterest-perfect finish and just enjoy the fact that you made something beautiful with your own two hands. You’ve got this.
Frequently Asked Questions
I found this piece in a thrift store and it's covered in weird, sticky residue—is it even worth trying to strip this, or should I just call it a loss?
Honestly? Don’t write it off just yet. That sticky stuff is usually just decades of old wax buildup or a cheap, low-quality lacquer that’s gone bad. It’s annoying, yeah, but it’s rarely a dealbreaker. Try a small patch test with some mineral spirits first. If it dissolves, you’re golden. If it feels like you’re fighting a losing battle against a chemical nightmare, then sure, walk away. Life’s too short for bad wood.
How do I know if I'm sanding too much and actually hitting the structural part of the wood instead of just the finish?
Honestly, I’ve been there—staring at a piece of wood wondering if I’m about to ruin it. Here’s the deal: watch the color and the texture. The finish usually looks a bit “crusty” or uneven. Once you hit the actual wood, the color will become uniform and the surface will feel smoother, almost warm, under your hand. If you see light-colored, raw grain appearing, stop. You’ve reached the wood; now just level it out.
I'm really trying to avoid breathing in toxic fumes, but is there a way to do this without a professional-grade respirator?
Look, I get it—the thought of breathing in those heavy chemical fumes is enough to make anyone want to quit. Honestly, if you can’t swing a proper respirator right now, don’t just wing it. At the very least, work outside or by a wide-open window with a box fan pulling the air away from you. And please, skip the harsh strippers and try a citrus-based one instead. It’s slower, but it’s way kinder to your lungs.







