Homemade Soap Making for Beginners
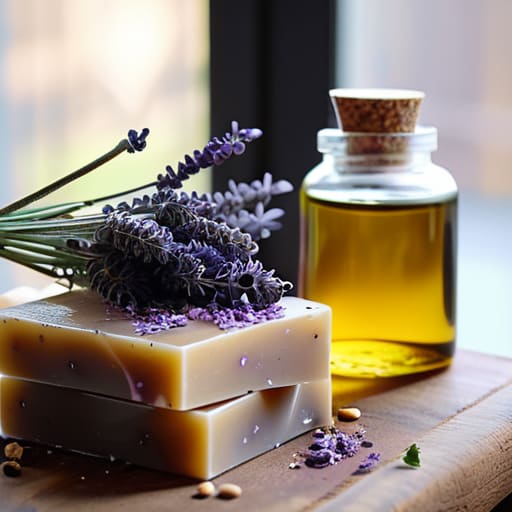
I was staring at a $14 bar of “organic, artisanal” lavender soap in the drugstore aisle the other day, thinking about how much of that price tag is just fancy packaging and marketing fluff. It felt ridiculous. I realized then that most people think learning how to make soap requires a chemistry degree or a massive investment in expensive, aesthetic kits that take up way too much space in a tiny apartment. But honestly? You don’t need a laboratory-grade setup or a mountain of specialty oils to create something that actually cleans your skin without stripping it bare.
In this guide, I’m stripping away the performative nonsense and showing you the actual way to do this on a budget. I’m going to walk you through a straightforward process using basic ingredients you can probably find at a local shop without breaking the bank. We aren’t aiming for Instagram-perfect swirls that look cool but don’t work; we are focusing on functional, skin-loving bars that you can make in your own kitchen. Let’s get into the real, unglamorous, and totally rewarding steps of making soap that actually makes sense for your life.
Guide Overview
Tools & Supplies
- Digital scale for precise measurements
- Stick blender for emulsification
- Stainless steel pot for melting oils
- Silicone molds for shaping
- Infrared thermometer for temperature control
- Coconut oil (approx. 500g)
- Olive oil (approx. 500g)
- Sodium hydroxide/Lye (approx. 150g)
- Distilled water (approx. 350g)
- Essential oils (approx. 30ml)
Step-by-Step Instructions
- 1. First things first, you need to clear your workspace and get your safety gear on. I know, it’s not the most “aesthetic” part of the process, but you’re working with lye, which is not something to play around with if you want to keep your skin intact. Grab some gloves, eye protection, and long sleeves. Make sure you’re in a well-ventilated area—ideally near an open window or under a kitchen vent—because the fumes can be a bit much when you first mix things.
- 2. Grab a heat-safe container (glass or heavy-duty plastic, nothing thin that’ll melt) and slowly pour your lye into your measured water. Never pour water into lye, or you’ll end up with a chemical reaction that looks like a science experiment gone wrong. Stir it gently until it’s clear, and then just set it aside in a safe spot to cool down. It’s going to get hot, so don’t go trying to touch it or move it prematurely.
- 3. While your lye solution is chilling out, it’s time to melt your fats. If you’re keeping it budget-friendly, you can use coconut oil or even some leftover olive oil from the pantry. Melt them down in a pot on the stove until everything is liquid and smooth. Once they’re melted, let them cool off until they’re roughly the same temperature as your lye water. If one is way hotter than the other, the whole batch might seize up on you.
- 4. Now comes the actual “making” part. Slowly pour your cooled lye water into your melted oils. Grab a stick blender—don’t bother trying to do this by hand unless you have a lot of patience and a very strong arm—and pulse it in short bursts. You’re looking for “trace,” which is just a fancy way of saying the mixture has thickened to the consistency of pudding. When you lift the blender and the drips leave a visible trail on the surface, you’re golden.
- 5. This is where you get to be a little creative without spending a fortune. If you want a scent, skip the expensive essential oil blends and just use a few drops of something simple like lavender or even a bit of dried rosemary from your garden. If you want color, you can stir in some organic turmeric or cocoa powder. Just remember: less is more here. You don’t want your soap to smell like a perfume factory; you just want it to smell clean.
- 6. Pour your mixture into a silicone mold or even a cleaned-out, recycled milk carton if you’re feeling extra thrifty. Tap the container on the counter a few times to get rid of any trapped air bubbles. Cover it with a piece of cardboard and a towel to keep the heat in, then leave it alone. You’ll need to wait about 24 to 48 hours before you can even think about slicing it into bars.
- 7. Once the soap is firm, pop it out of the mold and slice it into your desired thickness. Now comes the hardest part: the waiting game. You can’t use it right away, or it’ll be harsh on your skin. You need to let these bars “cure” in a cool, dry place for about four to six weeks. This allows the water to evaporate and makes the bar harder and much gentler. It takes patience, but I promise, your skin will thank you.
Mastering Cold Process Soap Making Methods Without the Fluff
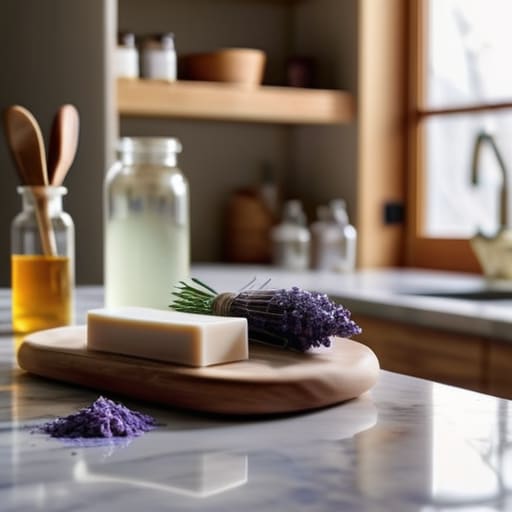
Look, I know the science part of this can feel a little intimidating, but let’s get real: you don’t need a chemistry degree to nail your first batch. When you’re diving into cold process soap making methods, the most important thing isn’t having the flashiest gear; it’s respecting the process. Before you even touch a single ingredient, please, for the love of everything, grab your soap making safety equipment. I’m talking goggles and gloves—no exceptions. Lye is no joke, and I’ve seen too many people try to “wing it” only to end up with a kitchen full of caustic mess.
Once you’ve got your safety sorted, don’t try to eyeball anything. I used to think I could just “feel” the recipe, but that’s a fast track to a bar of soap that’s either a grease bomb or way too harsh. Use a reliable lye and oils ratio calculator to keep your math tight. It takes the guesswork out of the equation so you can focus on the fun stuff, like experimenting with different natural soap ingredients for skin like colloidal oatmeal or honey. Just keep it simple, keep it precise, and let the chemistry do the heavy lifting.
Essential Oils for Natural Soap That Wont Break the Bank
Look, I get it. You walk into a health food store and see these tiny, beautiful amber bottles with price tags that look like phone numbers, and suddenly, your DIY dream feels like a luxury you can’t afford. But here’s the reality: you don’t need a massive collection of rare extracts to make something that smells amazing. When you’re looking for essential oils for natural soap, stick to the heavy hitters that are versatile and relatively cheap. Lavender and eucalyptus are your best friends—they’re easy to find, smell great, and work perfectly with almost any base.
If you want to get a bit more creative without draining your savings, try blending. Instead of buying five different expensive oils, grab one “complex” scent and mix it with a cheaper citrus oil like lemon or sweet orange. It’s a total game changer for adding depth to your scent profile. Just remember to keep an eye on your scent load; even though we’re focusing on natural soap ingredients for skin, more isn’t always better. Overdoing it can actually irritate your skin or make the soap too soft. Keep it simple, keep it intentional, and your wallet (and your skin) will thank you.
Real Talk: 5 Things I Wish I Knew Before My First Batch
- Don’t go overboard on the “fancy” stuff. I used to think I needed expensive botanical extracts to make good soap, but honestly? A simple, well-balanced recipe with basic oils like olive or coconut works better (and costs way less) than a complicated mess of extracts that just end up smelling weird after a week.
- Safety isn’t just a suggestion, it’s a vibe. If you’re working with lye, please, for the love of everything, wear your goggles and gloves. It’s not about being dramatic; it’s about not ending up in the ER because you thought you could skip the protective gear to save time.
- Embrace the “ugly” phase. Your first batch might look like a lumpy, uneven disaster, and that is totally fine. Soap making is a science, and sometimes the science is messy. Just let it cure, don’t stress the aesthetics, and keep moving.
- Temperature matters more than you think. You don’t need a lab-grade thermometer, but you do need a decent one. If your oils and lye water are too hot or too cold when you mix them, you’re going to run into some frustrating texture issues. Just check them regularly.
- Patience is your new best friend. I know we live in an instant gratification world, but you cannot rush the curing process. If you try to use your soap too early, it’ll be a mushy mess. Give it the full 4 to 6 weeks in a dry spot; your skin will thank you later.
The Real Bottom Line
Stop chasing the “perfect” aesthetic; your soap doesn’t need to look like a Pinterest board to be effective and skin-friendly.
Stick to the basics—using pantry staples and affordable oils is way more sustainable for your wallet and the planet than buying expensive, pre-made kits.
Focus on the process, not the perfection—it’s okay if your first batch is a little wonky, as long as it actually works for you.
The Bottom Line
Look, making your own soap isn’t about achieving some Pinterest-perfect, marble-countertop aesthetic. It’s really just about taking control of what you’re putting on your skin and keeping your spending in check. We’ve covered how to navigate the cold process without losing your mind, how to pick oils that actually smell good without draining your bank account, and how to use basic pantry staples to get the job done. At the end of the day, the goal is to create something functional and effective that doesn’t rely on a mountain of plastic packaging or overpriced marketing fluff. If you can master these basics, you’ve already won half the battle.
Don’t get discouraged if your first batch looks a little wonky or the scent isn’t exactly what you imagined. I promise you, even my first few attempts were a total mess, but that’s just part of the process. The real magic isn’t in the perfect bar of soap; it’s in the fact that you actually made something with your own two hands using what you already had. Stop waiting for the “perfect” setup or the expensive equipment to arrive in the mail. Just grab what you have, get a little messy, and start building a routine that actually feels sustainable for your life and your budget.
Frequently Asked Questions
Is it actually safe to make this in my kitchen, or am I going to end up with weird fumes or something?
Look, I get it. The idea of playing with chemicals in your kitchen sounds sketchy, especially if you’re worried about fumes. Honestly? It’s totally safe if you aren’t being reckless. Just make sure you have a window open for airflow and wear your gloves—lye is no joke if it touches your skin. As long as you aren’t cooking right next to your soap station and you keep your workspace organized, you aren’t going to turn your apartment into a lab accident.
I’m on a super tight budget—can I use leftover cooking oils like olive or coconut oil, or do I need to buy specific stuff?
Honestly, please don’t go out and buy a bunch of expensive, specialized oils just because some DIY influencer told you to. If you have olive or coconut oil sitting in your pantry, use them! They work great. Just make sure they aren’t rancid or smelling weird from being left open too long. Using what you already have is the whole point of this. It’s functional, it saves money, and it works perfectly fine.
How long do I actually have to wait before I can use it? I'm not great at the whole "patience" thing when I want to see results.
Look, I get it. I’m the same way—I want to see the finished product the second I finish mixing the oils. But here’s the blunt truth: you can’t rush the chemistry. For cold process, you’re looking at about 4 to 6 weeks of curing time. If you use it too early, it’ll be mushy and won’t last. It’s basically a lesson in forced patience, but I promise the superior lather is worth the wait.