Refresh Your Seating: a Guide to Chair Reupholstery
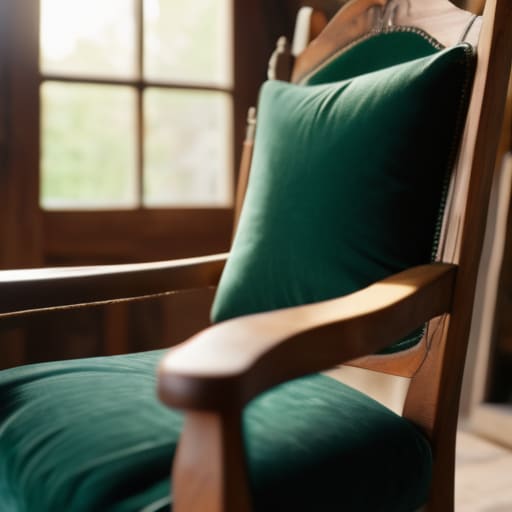
I was sitting on my floor last Tuesday, surrounded by scraps of velvet and a staple gun that felt way too heavy for my hands, staring at this mid-century armchair I’d rescued from a curb alert. Most DIY tutorials make it look like some seamless, aesthetic magic trick where you just glide a needle through fabric, but let’s be real: it’s actually messy, a little frustrating, and occasionally involves a lot of swearing. If you’ve been scrolling through Pinterest thinking you need a professional studio and a massive budget to learn how to reupholster a chair, I’m here to tell you that’s total nonsense. You don’t need a workshop full of industrial machinery; you just need some grit and the right approach.
In this guide, I’m stripping away all the performative fluff and giving you the actual process I use in my tiny apartment. I’ll show you how to source affordable fabric that doesn’t feel cheap and how to navigate the tricky parts without losing your mind. We’re going to focus on functional results over perfection, using basic tools you probably already have tucked away in a junk drawer. Let’s get that old piece of furniture looking useful again.
Guide Overview
Tools & Supplies
- Staple gun and staples for securing fabric
- Upholstery pliers for pulling fabric and staples
- Scissors or fabric shears for cutting material
- Needle-nose pliers for removing old staples
- Measuring tape for sizing fabric
- Upholstery fabric (2-3 yards depending on chair size)
- High-density foam padding (1-2 sheets)
- Batting/Dacron wrap (1 roll)
- Replacement staples (1 box)
Step-by-Step Instructions
- 1. First things first, you need to strip the chair down to its bones. Don’t just start pulling at the fabric; take your time to remove the old upholstery, the staples, and that dusty foam piece by piece. I highly recommend laying everything out on the floor in the exact order you took it off. It sounds tedious, but it’s a total lifesaver when you’re trying to figure out how the original pattern actually worked.
- 2. Once you have a naked chair frame, give it a quick inspection. Check for any wobbles or loose joints that might make the chair feel sketchy once it’s all pretty again. If it’s a wooden frame, a quick sand and a fresh coat of stain or paint can go a long way. You want to make sure the foundation is solid before you even think about touching the new fabric.
- 3. Now, let’s talk fabric. Since we aren’t trying to fund a luxury lifestyle brand here, don’t feel pressured to buy the most expensive velvet you can find. Look for something durable and easy to clean, like a heavy cotton canvas or a sturdy linen blend. When you lay your new fabric over the seat or back, make sure you’re leaving plenty of extra material hanging off the edges—you’ll need that “slack” to pull it tight.
- 4. This is where the actual work happens: the stapling. Start by pulling the fabric taut and placing a staple in the center of each side. Work your way from the middle out to the corners, always pulling with a bit of muscle to avoid any annoying wrinkles. If you find yourself struggling with a corner, don’t panic; just take a second to fold the excess fabric neatly so it looks intentional rather than messy.
- 5. Dealing with corners can be the most frustrating part of the whole process, but it’s also where you’ll see the most difference. Instead of just bunching the fabric up, try to neatly pleat the excess into the corner before stapling it down. It’s a little bit of extra effort, but it’s the difference between a chair that looks DIY-disaster and one that actually looks like it belongs in a real home.
- 6. For the finishing touches, you might want to add some decorative nailhead trim or a fringe if that’s your vibe, but honestly, a clean, seamless edge is often more than enough. If you’re using a staple gun, just make sure the staples are tucked neatly under the frame where they won’t snag your clothes or scratch your legs.
- 7. Finally, give the chair a good once-over to make sure everything is secure. If you used foam, you can use a bit of spray adhesive to keep it from shifting around, but don’t go overboard. Sit in it, test the tension, and celebrate the win. You just saved a piece of furniture from a landfill and your wallet, and that’s a massive victory in my book.
Scavenging for Success Essential Upholstery Tools and Supplies
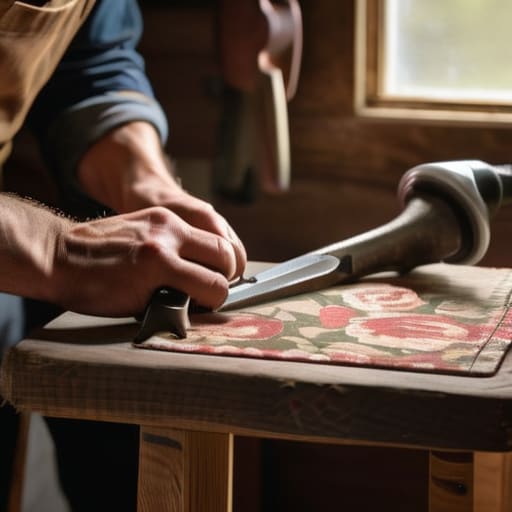
Look, before you dive in, please don’t run to a big-box craft store and buy every shiny gadget on the shelf. Most of that is just marketing fluff. For a basic project, you really only need the basics: a decent staple gun, some heavy-duty thread, and a pair of sharp fabric shears. If you’re working with an older piece, you’ll likely spend more time removing old fabric from furniture than actually putting the new stuff on, so grab a flat-head screwdriver or a pair of pliers to help pry out those stubborn, crusty old staples.
When it comes to the actual materials, this is where people usually overspend. If you’re choosing the right upholstery fabric, skip the delicate silks or expensive velvets unless you actually want to baby the chair forever. Go for something durable and washable—think heavy cotton blends or even some sturdy canvas. Also, if the seat feels like it’s made of compressed cardboard, don’t just slap new fabric over it; spend the few extra bucks on some high-density foam for replacing chair foam padding. It’s the difference between a chair that looks good and one that actually feels good to sit in.
The Real Way to Start by Removing Old Fabric From Furniture
Before you go hacking away at the piece, here is a pro tip I learned the hard way: don’t just rip everything off blindly. I know it’s tempting to just grab a pair of pliers and start pulling, but you actually want to treat that old fabric like a blueprint. As you’re removing old fabric from furniture, try to peel it back in sections. If the original maker used specific staple patterns or tucked the edges in a certain way, you’ll want to see that. It’s basically a free map for how you’ll eventually pull your new material taut.
Also, keep a close eye on what’s happening underneath the surface. Once the fabric is off, you’ll finally see the true state of the frame and whether you’re actually replacing chair foam padding or if the old stuff is still salvageable. If the foam is crumbling into orange dust, stop right there—that’s your sign to grab some new batting before you even think about touching your new fabric. It’s much better to fix the foundation now than to realize your new project feels like sitting on a brick halfway through.
A Few Things I Wish I Knew Before I Started My First Project
- Save every single scrap of the old fabric. I know, it looks like trash, but you’re going to need those pieces to patch small gaps or figure out exactly how the original pattern was laid out once you start cutting into your new stuff.
- Don’t go overboard with the foam. It’s tempting to buy the thickest, fluffiest cushion you can find, but too much padding can make the fabric look lumpy and weirdly oversized. Aim for support, not a marshmallow.
- Test your fabric tension constantly. It’s easy to get carried away pulling everything tight, but if you pull too hard, you’ll end up with puckered seams or even warped wood. It should be taut, not strained.
- Use a staple gun, but don’t rely on it for everything. If you’re working on a curved back, sometimes a little bit of heavy-duty upholstery tacks or even a bit of fabric glue helps keep things from shifting while you’re trying to get the staples in.
- Take way too many photos. Seriously. Photograph every angle of the chair before you strip it down and every stage of the process. When you’re halfway through and can’t remember if that specific fold went under or over, your camera roll will be your best friend.
The Bottom Line: Keep It Real and Keep It Simple
Don’t feel pressured to buy a professional-grade toolkit right out of the gate; start with what you have, borrow what you can, and only invest in the basics that actually help you get the job done.
Your old fabric is actually your best blueprint, so don’t throw it away until you’ve carefully mapped out how it fits the chair to ensure your new material actually works.
Perfection is a myth, especially with DIY—focus on making the chair sturdy and functional rather than stressing over whether every single stitch looks like it came from a high-end showroom.
The Final Stitch
Look, I know it probably feels a little overwhelming right now. You’ve got a pile of old fabric scraps on the floor, your hands are likely a bit sore from pulling those stubborn staples, and you’re probably wondering if you actually made the right call. But remember: you didn’t need a professional workshop or a massive budget to get here. You just needed the right mindset and a few basic tools to bridge the gap between a piece of junk and something functional. By stripping it down, prepping the foam, and being intentional with your fabric choice, you’ve already done the hardest part. It’s not about achieving some Pinterest-perfect, flawless finish; it’s about the fact that you actually did the work to make something useful again.
At the end of the day, that chair isn’t just a piece of furniture anymore—it’s proof that you don’t need to buy into the cycle of constant consumption. There is something so incredibly grounding about taking something broken and deciding it’s worth your time to fix. Don’t sweat the tiny imperfections or the slightly uneven corners; those are just the marks of a real, lived-in life. You’ve reclaimed a piece of your space without draining your bank account, and honestly, that’s a huge win. So, sit down, grab a coffee, and enjoy the view of something you built with your own two hands. You earned it.
Frequently Asked Questions
Do I really need to replace the foam and padding, or can I just wrap the old stuff in new fabric?
Honestly? It depends on how much your chair is currently “giving up.” If the foam is still bouncy and hasn’t crumbled into orange dust, you can totally save it. Just wrap it in a layer of batting to smooth things out before the new fabric goes on. But if it’s flat or feels like sitting on a pancake, don’t bother. Save yourself the headache and grab some new foam; your back will thank you.
What happens if I accidentally rip the fabric while I'm pulling the staples out?
Deep breaths—it happens to the best of us. Honestly, don’t panic. If it’s just a small tear in the old fabric you’re stripping off, it doesn’t even matter because that stuff is headed for the trash anyway. But if you accidentally nick the actual foam or the structural webbing underneath, just slow down. Grab some heavy-duty upholstery thread or even just some sturdy fabric scraps to patch the gap before you layer your new material on top.
Is there a way to do this without buying a heavy-duty staple gun, or am I stuck?
Look, I get it. The last thing you want to do is spend $40 on a tool you’ll use exactly once. If you’re working with a lightweight project—like a small dining chair or a footstool—you can actually get away with a basic hand-held staple gun from a dollar store. Just go slow. If the fabric is thick, though, you’re going to struggle. In that case, maybe check a local tool library or borrow one from a neighbor first.