Repurpose Household Items Into Creative New Planters
I was standing in the middle of a big-box garden center last weekend, staring at a $35 hand-painted ceramic pot, and I felt that familiar wave of annoyance hit me. Why does the internet make it feel like you need a massive budget and a curated “boho-chic” aesthetic just to grow a little bit of basil on your windowsill? The truth is, most of those Pinterest-perfect setups are just expensive ways to clutter your space. You don’t need a shopping spree to get started with diy planters; honestly, you probably already have everything you need sitting in your recycling bin or tucked away in the back of your pantry.
In this guide, I’m skipping the fluff and the “aesthetic” filler to show you how to build actually functional containers that won’t break the bank. I’ll walk you through how to repurpose everyday items—like old tin cans, yogurt tubs, or even cracked mugs—into sturdy homes for your plants. We aren’t aiming for perfection here; we’re aiming for sustainable, low-cost solutions that work for your specific space and your actual budget. Let’s get your hands a little dirty and make something useful.
Guide Overview
Tools & Supplies
- Drill and drill bits for drainage holes
- Measuring tape for precise cuts
- Sandpaper for smoothing edges
- Upcycled containers (tin cans, plastic bottles, or wooden crates)
- Potting soil (1 bag)
- Small stones or gravel (1 small bag for drainage)
- Paint or decorative wraps (optional)
Step-by-Step Instructions
- 1. First, you need to do a quick sweep of your recycling bin and pantry. I’m talking about the stuff you’d normally toss—empty large yogurt tubs, coffee tins, or even those sturdy plastic takeout containers. Just make sure they are thoroughly cleaned out so you aren’t accidentally growing mold alongside your herbs.
- 2. Grab a pair of scissors or a utility knife and start prepping for drainage. This is the part people skip, and it’s why their plants die. You need to poke several holes in the bottom of whatever container you chose. If you’re using a metal tin, a hammer and a large nail work perfectly fine to punch through the base without much effort.
- 3. If you’re using something that looks a little “trashy”—like a plain white plastic tub—this is where you can get creative without spending a dime. You don’t need expensive spray paint; just grab some leftover acrylic paint from an old craft project or even some twine to wrap around the outside. The goal is to make it look intentional, not like a middle school art project.
- 4. Before you add any dirt, grab a handful of small pebbles, crushed gravel, or even broken pieces of an old terracotta pot. Layer these at the very bottom of your container to create a drainage reservoir. This helps prevent the soil from becoming a swampy mess every time you water your plants.
- 5. Now, go ahead and add your potting soil. Don’t just scoop it in haphazardly; fill the container up to about an inch below the rim. This gives you enough “headroom” so that when you water the plant, the liquid doesn’t just overflow everywhere and make a mess on your windowsill.
- 6. Gently tuck your plant into the soil. If you’re starting from seeds, just a light dusting of soil will do, but if you’re transplanting a nursery plant, make sure you don’t bury the stem deeper than it was in its original pot. Give the soil a tiny, gentle pat to settle everything in place.
- 7. Finally, give your new little green friend its first drink of water. Place your DIY planter on a saucer or a recycled lid to catch any extra moisture. Now, just place it somewhere sunny and let it do its thing. You just saved a few bucks and kept some plastic out of the landfill—not bad for a Saturday afternoon.
Upcycled Container Gardening With Repurposed Household Items
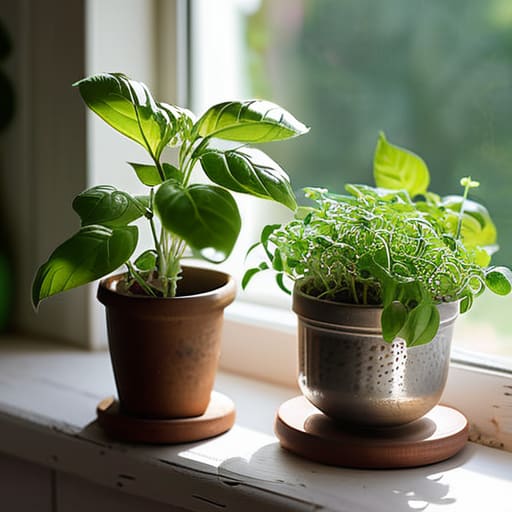
Look, I get the temptation to head to the garden center and grab those cute, matching terracotta pots, but your bank account (and the planet) will thank you if you just look in your pantry instead. Upcycled container gardening isn’t about making things look like a Pinterest board; it’s about finding utility in what’s already headed for the bin. I’ve personally used everything from old coffee tins to cracked ceramic mugs for my windowsill herbs. If you’re feeling a bit more ambitious, you can even look into repurposed household items for plants like old colanders—they’re basically pre-made planters with built-in drainage.
The biggest mistake I see people make when they start DIYing is forgetting about the water. If you’re using something that didn’t originally have holes, you absolutely need to prioritize drainage solutions for diy pots. Grab a hammer and a thick nail to carefully punch some exits at the bottom of your containers. Without them, you’re just asking for root rot. It doesn’t have to be pretty, and it definitely doesn’t have to be expensive. Just make sure it works.
Budget Friendly Garden Decor Using What You Already Own
Once you’ve got your plants settled into their new homes, you’re probably going to want to make the space look a little more intentional. But please, for the love of everything, do not head to a big-box home improvement store to buy a set of matching, overpriced stone statues. That’s how you end up with a garden that looks like a catalog rather than a living space. Instead, look at your decor through the lens of budget friendly garden decor by scavenging your own house. An old, chipped ceramic bowl makes a perfect low-profile tray for a grouping of small plants, and even some mismatched vintage spoons can be stuck into the soil to act as quirky little plant markers.
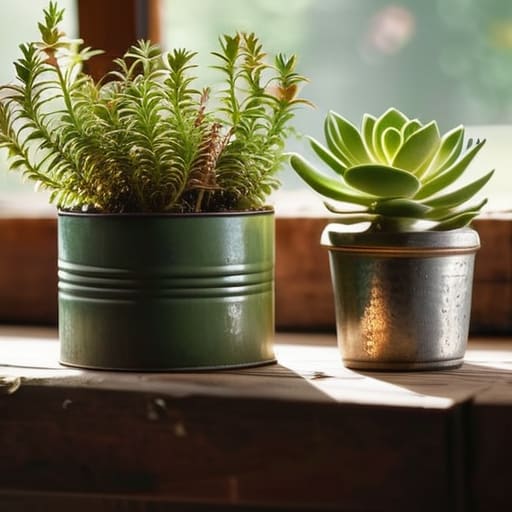
If you’re working with a smaller footprint, like a windowsill, you can get really creative with indoor succulent pot crafts. I love taking old, colorful espresso cups from a thrift store or even those sturdy tin cans I mentioned earlier and grouping them together on a wooden board. It creates a little “scene” that feels curated rather than cluttered. The goal isn’t to have a perfect, Pinterest-ready setup; it’s about creating a space that feels actually lived-in and tells a bit of your story without draining your bank account.
A few things I wish I knew before I started wasting money on gardening gear
- Don’t obsess over the “perfect” look. If you’re using an old coffee tin or a cracked plastic bucket, just own it. A little bit of mismatched charm is way better than a sterile, expensive-looking setup that stresses you out.
- Drainage is non-negotiable. I’ve killed more plants by forgetting to poke holes in the bottom of a cute container than I care to admit. If your DIY pot doesn’t let water out, your roots are going to rot, and that’s just a waste of time and money.
- Think about weight before you commit. If you’re planning to put your DIY planters on a windowsill or a flimsy shelf, don’t use heavy ceramic or massive wooden crates. You don’t want a heavy, soil-filled mess crashing down on your stuff.
- Size matters more than style. It’s tempting to use those tiny, aesthetic little cups for everything, but most plants need actual room to breathe. If the container is too small, you’ll just be replacing the plant every two weeks because it’s root-bound.
- Test your containers before you fill them with expensive potting soil. Give them a quick rinse and check for any weird smells or leftover chemicals from whatever they used to hold. There’s no point in starting a new life for a plant in a container that’s actually toxic.
The Bottom Line
Stop waiting for a “perfect” setup or a trip to the garden center; your best tools are probably already sitting in your recycling bin or junk drawer.
Prioritize function over aesthetic—a mismatched collection of tin cans and yogurt tubs will grow just as well as expensive ceramic pots, and it won’t break your bank.
Sustainability isn’t about buying new “eco-friendly” products; it’s about actually using what you already own instead of letting it go to waste.
The Real Goal Isn't a Pinterest Board
At the end of the day, we’ve covered a lot of ground—from turning old yogurt tubs into functional seedling starters to scavenging your junk drawer for decor that actually adds character without adding to your credit card bill. The main takeaway I want you to hold onto is that you don’t need a massive budget or a high-end gardening kit to get your hands dirty. Whether you’re using a repurposed tin can or a thrifted ceramic bowl, the goal is to create something functional and sustainable that fits into the life you’re already living. It’s about making use of what you have rather than waiting for a “perfect” moment that requires a shopping spree.
Please, stop waiting until you have the perfect aesthetic or the most expensive terracotta pots to start your garden. Gardening should be about the dirt under your fingernails and the quiet satisfaction of seeing something grow, not about how well your windowsill matches an influencer’s feed. If you start with just one small, upcycled container, you’re already winning. Focus on the process over the perfection, and I promise you’ll find much more joy in a slightly mismatched collection of repurposed planters than in a sterile, expensive setup that feels too precious to actually use. Now, go find a container and just start planting.
Frequently Asked Questions
Do I really need to drill drainage holes in things like tin cans or plastic tubs, or will the plants just die?
Look, I’m going to be blunt: yes, you absolutely need to drill those holes. If you don’t, water pools at the bottom, the roots sit in a swamp, and your plant will literally rot and die. It’s not worth the “aesthetic” of a sealed container if you’re just growing a corpse. Grab a hammer and a large nail if you don’t have a drill—just get those drainage holes in there. Your plants will thank you.
How do I stop my upcycled planters from looking like literal trash and actually making them look decent in my space?
Look, I get it. There’s a fine line between “charming upcycled aesthetic” and “my living room looks like a landfill.” The trick is intentionality. Pick a cohesive color palette—even if it’s just matte black or a neutral terracotta spray paint—to unify different shapes. Also, ditch the cheap plastic look by adding texture. Use some twine or even just a consistent type of stone on top. If it looks intentional, it looks like design.
Is it safe to use old food containers for herbs, or is there a risk of chemicals leaching into the soil?
Look, I get the hesitation—I’ve definitely stared at a yogurt tub wondering if I was accidentally seasoning my basil with microplastics. Generally, if it’s a standard food-grade container (like most yogurt, sour cream, or takeout tubs), you’re fine. Just avoid anything that held harsh chemicals or heavy oils. If you’re still worried, just line the inside with a bit of burlap or even some recycled newspaper. It’s safer, and honestly, it looks a bit more “intentional” anyway.







