Creative Ways to Patch Denim for a Better-than-new Look
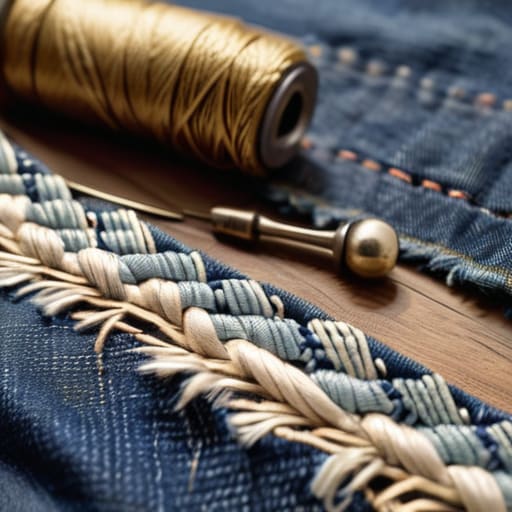
I was staring at my favorite pair of vintage Levi’s last Tuesday, the ones with the perfect lived-in fade, and realized there was a hole right where the inner thigh meets the crotch. My first instinct wasn’t to run to a boutique for a replacement, but to grab my sewing kit and figure out how to patch jeans without making them look like a middle school art project. We’ve been conditioned to think that once a garment is “damaged,” it’s trash—or worse, that you need a professional tailor and a massive budget to fix it. Honestly? That’s a total lie. A little bit of thread and some scrap fabric can turn a “ruined” item into your new favorite piece with a bit of character.
In this guide, I’m skipping the complicated, expensive sewing machine tutorials and sticking to what actually works for real life. I’ll show you a few different ways to approach how to patch jeans using nothing but what you likely already have in a junk drawer or a thrifted bin. We’re going to focus on methods that are actually sustainable and look intentional, rather than just slapped together. Whether you want a seamless invisible fix or a cool, visible mending vibe, I’ve got you covered.
Guide Overview
Tools & Supplies
- Fabric scissors for cutting patches
- Sewing needle for hand stitching
- Thimble for finger protection
- Denim patch fabric or scrap fabric
- Sewing thread matching the denim color
- Pins to hold the patch in place
Step-by-Step Instructions
- 1. First, grab your jeans and find a spot to sit where you won’t be interrupted. You’ll need to decide if you’re going for a “hidden” fix or if you want to lean into the visible mending aesthetic. If you want it to look seamless, you’ll need a piece of denim that’s a close color match; if you’re feeling more creative, grab a scrap of patterned fabric from one of those old thrifted shirts you haven’t been able to part with yet.
- 2. Once you’ve picked your patch, turn your jeans inside out and pin the fabric over the hole. I usually use sewing pins, but if you’re worried about ruining the denim, safety pins work just fine. Make sure the patch is large enough to cover the entire frayed area with a little bit of extra room around the edges so the tension doesn’t cause more tearing later.
- 3. Now, it’s time to secure the patch. If you have a sewing machine, you can run a straight stitch around the perimeter, but honestly, I find that doing it by hand feels much more intentional. Use a needle and some heavy-duty thread—regular all-purpose thread can sometimes snap under the pressure of thick denim—and start sewing about a quarter-inch from the edge of the hole.
- 4. If the hole is particularly large or the fabric is looking a bit “tired” and thin, I highly recommend doing some reinforcement stitching. This means sewing straight lines across the patch in different directions (vertical, then horizontal) to create a grid. It makes the area much more durable and prevents the patch from shifting every time you sit down or walk.
- 5. For those of us who aren’t exactly master tailors, don’t stress about making every single stitch perfectly straight. Part of the charm of DIY is that it looks lived-in. If your lines are a little wobbly, just own it. It gives the jeans character and proves you actually use them instead of just letting them sit in a pristine pile in your closet.
- 6. Finally, give the area a quick trim. If there are any loose, dangling threads from the original fraying, snip them off with sharp scissors so they don’t get caught in your zipper or snag on something else. Give the whole thing a good tug to make sure everything is seated properly, and you’re ready to wear them out into the world again.
Choosing Denim Patch Fabric Types You Already Have
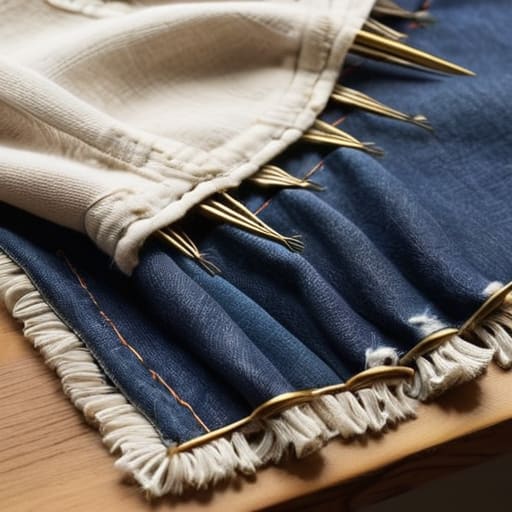
Before you grab your needle and thread, stop scrolling through Pinterest looking for the “perfect” matching denim. Honestly, the best scraps are usually the ones you’ve already overlooked. I love using old flannel shirts or even scraps from a thrifted heavy cotton tote bag. If you want to lean into a more intentional look, you can explore different denim patch fabric types, like a piece of dark indigo from an old pair of overalls or a lighter wash scrap to create a high-contrast effect. The goal isn’t to hide the repair, but to make it part of the garment’s story.
If you’re feeling a bit more creative, don’t feel limited to just more denim. I’ve found that using a patterned scrap of fabric can turn a boring repair into a piece of art through visible mending techniques. You could even try some simple embroidery for clothing repair over a patch to add some personality. Whether you’re opting for a rugged, utilitarian look or something a bit more whimsical, the best material is always the one you already have sitting in your scrap bin.
Sewing Machine vs Hand Sewing Jeans What Actually Works
Honestly, you don’t need a fancy studio setup to fix a hole in your favorite pair of Levi’s. If you have a sewing machine, go for it—it’s definitely the fastest way to get a sturdy, structural repair, especially if you’re dealing with a large blowout in the knee. Just make sure you use a heavy-duty denim needle so you don’t snap it halfway through. But if you’re like me and don’t want to invest in gear you’ll only use once, don’t sweat it.
Hand sewing is actually my preferred method for smaller tears because it gives you so much more control. If you want to lean into the aesthetic, you can try some visible mending techniques like a simple running stitch or even some basic embroidery for clothing repair. It turns a flaw into a design choice. If you’re feeling extra lazy (we’ve all been there), iron-on denim patches are a decent temporary fix, but they rarely hold up to a heavy wash cycle. For anything that actually needs to last, I’d suggest a slow, intentional hand-stitch.
A few things I wish I knew before I started mending
- Don’t aim for invisible. If you try to make a patch look like it was never there, you’ll probably just end up frustrated and with a weirdly lumpy seam. Embrace the patch as a design choice—it’s character, not a mistake.
- Test your thread strength first. Denim is heavy and takes a lot of tension, so don’t try to use that thin, flimsy thread you keep in your junk drawer. If the thread snaps while you’re mid-stitch, you’re just going to end up with a bigger hole.
- Iron your patch and the jeans before you even touch a needle. It sounds extra, but trying to sew through wrinkled, bunched-up fabric is a recipe for a headache. Flat fabric makes for much cleaner, more intentional stitches.
- Secure the edges. If you’re patching a hole that’s actively fraying, make sure your stitches go slightly beyond the damaged area. You want to “lock in” the healthy fabric so the hole doesn’t just keep growing under your new patch.
- Use the “less is more” approach with tension. If you pull your hand-sewing stitches way too tight, you’ll pucker the denim and make the whole area feel stiff and awkward to wear. Keep it snug, but let the fabric breathe.
The Bottom Line on Keeping Your Denim Alive
Stop waiting for the “perfect” repair kit to arrive in the mail; if you have a needle, some thread, and a scrap of old fabric, you’re already halfway there.
Don’t sweat the aesthetic—a visible patch isn’t a failure, it’s just proof that you actually use your clothes and care enough to fix them.
Choose your method based on your energy levels, not a rulebook; hand sewing is fine for small spots, but don’t feel guilty about using the machine if you want it done fast.
Don't Sweat the Imperfect Stitch
At the end of the day, patching your jeans isn’t about achieving some flawless, Pinterest-perfect finish. It’s about the practical reality of choosing a fabric scrap that actually matches your vibe, deciding whether you have the patience for hand-stitching or the speed of a machine, and just getting the job done. Whether you went with a subtle, tonal patch to hide the damage or a loud, contrasting piece of vintage fabric to make a statement, you’ve successfully extended the life of something you already love. You didn’t need to run to a fast-fashion outlet to replace them; you just used what you had on hand to make a fix that works.
I know it can feel a little intimidating to take a needle to your favorite pair of denim, especially when you’re worried about making it look “messy.” But honestly? That little bit of visible mending is just a sign of a life well-lived. It’s a badge of honor that says you care more about sustainability and function than following a rigid standard of perfection. So, wear your patched jeans with pride. They aren’t “broken” anymore—they’re just customized, repaired, and uniquely yours. Now, go out there and actually wear them.
Frequently Asked Questions
Will my patch look like a giant, ugly blob, or is there a way to make it look intentional?
Honestly, if you try to hide a patch by just slapping a random piece of fabric over a hole, yeah, it might look like a blob. But that’s actually the goal—making it look intentional. I love using contrasting textures or even some sashiko-style stitching. Instead of fighting the repair, lean into it. If the patch looks like a deliberate design choice rather than a desperate band-aid, it actually adds character to the jeans.
How do I stop the patch from sliding around or bunching up while I'm actually trying to sew it?
Honestly, the sliding is the most frustrating part. If you’re hand-sewing, use a few safety pins around the edges to anchor it down—it’s a lifesaver. If you’re using a machine, grab some sewing clips or even just some painter’s tape to hold the patch in place. Whatever you do, don’t just rely on the tension of the fabric; it’ll bunch up every single time. Pin it, clip it, and then sew it.
Can I use iron-on patches if I don't want to mess with a needle and thread, or will they just fall off after one wash?
Look, I get it—some days the last thing I want to do is sit under a bright light with a needle. You can use iron-on patches, but let’s be real: they’re a temporary fix. If you just iron them on, they’ll likely peel or bubble after a couple of washes. If you’re going that route, I highly recommend adding a few quick stitches around the edges anyway. It’s a tiny bit more effort that saves you from a total fail later.







