Simple Ways to Repair Your Clothes and Extend Their Life
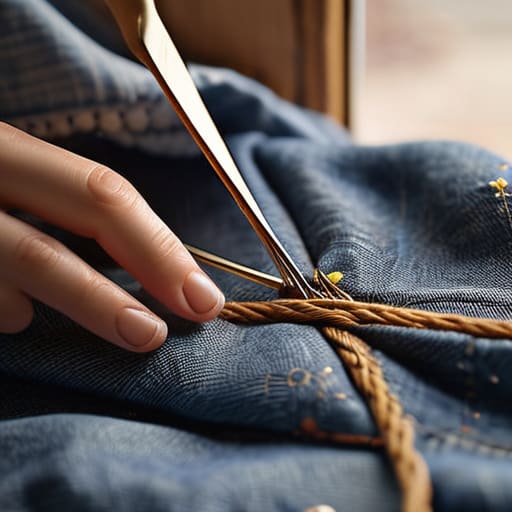
I was staring at a tiny, jagged hole in my favorite thrifted denim jeans last Tuesday, feeling that familiar, annoying urge to just toss them in the donation bin and call it a day. We’ve been conditioned to think that once a seam rips or a button falls off, the garment is officially dead, but honestly? That’s just a waste of good fabric and your hard-earned money. Learning how to mend clothes isn’t about becoming a master tailor or achieving some Pinterest-perfect embroidery look; it’s about realizing that a little bit of thread can save your favorite outfit from a landfill.
In this guide, I’m skipping the complicated sewing jargon and the expensive kits you don’t actually need. Instead, I’m going to show you the low-stakes, real-world methods for fixing common issues like loose hems, fallen buttons, and small tears using stuff you probably already have in a junk drawer. We’re focusing on functional repairs that keep your clothes in your rotation longer without making it a massive, stressful production. Let’s get into it.
Guide Overview
Tools & Supplies
- Hand sewing needles of various sizes
- Fabric scissors for clean cuts
- Seam ripper for removing old threads
- All-purpose sewing thread in multiple colors
- Fabric scraps for patching
- Sewing notions like buttons or safety pins
Step-by-Step Instructions
- 1. First, grab your supplies, but don’t go running to a craft store just yet. Dig through that junk drawer or that old sewing kit your grandma left you; most of the time, a basic needle and some thread that matches the color of your garment are all you actually need. If you can’t find a perfect color match, don’t sweat it—sometimes using a slightly contrasting thread can actually look like a cool, intentional detail rather than a mistake.
- 2. Clean up the area around the damage before you start stitching. If it’s a tear in a cotton tee, trim away any loose, frayed threads with a pair of small scissors so you aren’t just sewing a mess into a bigger mess. You want a clean edge so the fabric sits flat once you’re done, otherwise, the repair will look bulky and awkward.
- 3. For small holes or tiny snags, I swear by the “invisible” method. Turn the garment inside out and thread your needle, then start your stitches about a quarter-inch away from the actual hole. Use tiny, tight stitches to pull the edges of the fabric back together; the goal is to make the thread blend into the weave so you can barely see where the rip used to be.
- 4. If you’re dealing with a bigger rip or a hole in something like denim, you’re going to need a “patch” to act as a foundation. You can use a scrap of fabric from an old shirt you were going to toss, or even a piece of felt. Pin the patch to the inside of the garment behind the hole, and then stitch through both layers. This is much more durable than just trying to pull the edges together, which usually just causes the fabric to pucker and look weird.
- 5. If you’re feeling a little more adventurous and want to lean into the “visible mending” trend, try some embroidery. Instead of hiding the hole, use a bright, contrasting thread to stitch a little pattern—like tiny stars, leaves, or even just a simple geometric shape—directly over the damage. It turns a “broken” piece of clothing into a one-of-a-kind find, which is way more satisfying than buying a new one.
- 6. Once you’ve finished your stitching, don’t just rip the thread and call it a day. Leave a little bit of tail on the inside and tie it off with a couple of small knots so the whole thing doesn’t unravel the next time you do laundry. Give the fabric a gentle tug to make sure everything is secure and sitting as flat as possible.
- 7. Finally, give the piece a quick wash and dry to see how the repair holds up. This is the real test of whether your stitches are tight enough to handle actual daily wear. If it holds, congratulations—you just saved a piece of clothing from the landfill and kept a little more money in your pocket.
Mastering the Basics Hand Sewing for Beginners and Essential Kits
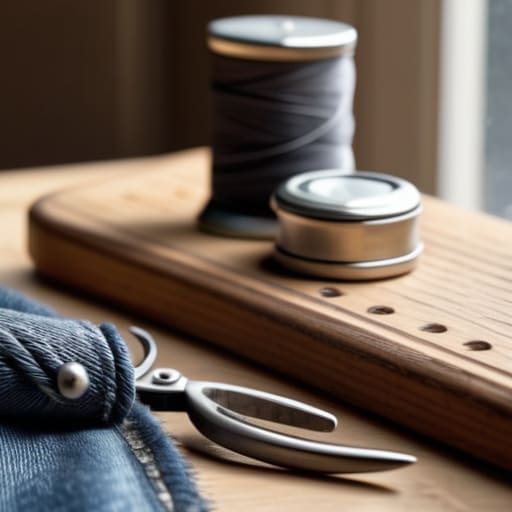
You don’t need a massive, professional sewing machine gathering dust in a corner to get started. Honestly, most of the stuff I fix—like a loose hem or a tiny snag—only requires a few basic sewing kit essentials that you can probably find in a junk drawer right now. I’m talking about a handful of needles, some decent quality thread in neutral colors, and a small pair of scissors. If you’re feeling extra prepared, grab a thimble; it saves your fingers when you’re working through thick fabrics like denim.
When you’re just starting out with hand sewing for beginners, don’t stress about making it look like a runway piece. My goal isn’t perfection; it’s functionality. If you’re tackling something like a loose button, just focus on keeping your stitches tight so it doesn’t pop off the next time you’re rushing out the door. For more visible damage, like those annoying holes in your favorite knitwear, you might eventually want to look into invisible mending techniques, but for now, just focus on getting the tension right and making sure the fabric stays secure.
Invisible Mending Techniques to Make Your Repairs Look Effortless
If you’re someone who hates the look of a bulky patch, I totally get it. Sometimes you want your clothes to look like they never even suffered a mishap in the first place. This is where invisible mending techniques really come into play. Instead of just slapping a piece of fabric over a hole, try using a single strand of thread and a very small needle to weave through the existing fabric fibers. It’s a bit more tedious than a standard stitch, but it’s how you make a repair look like it was part of the original weave.
I’ve spent many late nights practicing this on old leggings and thin cotton tees. If you’re working with something more structural, like a worn-out heel, a darning socks tutorial is a lifesaver. By creating a tiny “web” of thread across the hole, you’re essentially rebuilding the fabric from scratch. It’s not about making it look brand new; it’s about making the fix so seamless that nobody even notices it’s there. It’s a slow, intentional process, but it’s way more satisfying than just buying a new pair.
A Few Real-World Rules for When You’re Actually Sitting Down to Fix Things
- Stop chasing the “perfect” invisible stitch. If you’re mending a pair of heavy work jeans or a cozy sweater, a visible, slightly messy stitch can actually look intentional and cool—it’s called visible mending, and it’s way less stressful than trying to play surgeon with a needle.
- Don’t just start sewing blindly. Take a second to clean the garment and look at the fabric closely; sometimes what looks like a hole is actually just a loose thread or a bit of pilling that just needs a razor or a comb, not a whole new patch.
- Always, always reinforce the edges. If you’re patching a hole, don’t just sew the patch on top; make sure you’re securing the frayed edges of the original fabric so the hole doesn’t just keep growing right under your new work.
- Match the weight, not just the color. If you try to fix a delicate linen shirt with thick, heavy embroidery floss, you’re going to end up with a weird, puckered mess that pulls the fabric out of shape. Grab thread that actually feels like it belongs there.
- Keep a “mending station” that isn’t a junk drawer. I keep my needle, a few decent threads, and my small scissors in a little tin right by my desk; if I have to go hunting through a messy drawer every time I see a loose button, I’m just going to ignore it until the shirt is unwearable.
The Bottom Line: Why This Actually Matters
Stop waiting for the “perfect” sewing kit to arrive in the mail; just grab whatever needle and thread you’ve got in that junk drawer and start fixing what you actually love wearing.
Mending isn’t about making a garment look brand new—it’s about extending its life and finding a way to make a repair look intentional rather than a mistake.
Every small fix you do is a win for your wallet and a middle finger to the fast-fashion cycle that wants you to just buy more instead of caring for what you own.
Beyond the Needle and Thread
At the end of the day, mending isn’t about achieving some flawless, boutique-quality finish; it’s about the practical act of choosing to keep instead of constantly consuming. Whether you’ve mastered a basic running stitch to secure a loose button or spent an hour painstakingly performing an invisible mend on your favorite denim, you’ve successfully interrupted the cycle of fast fashion. You’ve learned that a small sewing kit and a little bit of patience can bridge the gap between a garment being “ruined” and it becoming a long-term staple in your wardrobe. It’s about using the tools you already have to extend the life of what you already love.
I know it can feel a bit intimidating when you’re staring at a hole in a piece of clothing you actually care about, but please don’t let perfectionism stop you from trying. Your first few stitches might look a little wonky, and honestly? That’s okay. There is something deeply grounding about slowing down and repairing something with your own hands. Every time you fix a seam instead of hitting “add to cart,” you’re reclaiming a bit of your autonomy and your budget. Let’s stop chasing the high of a new outfit and start finding real satisfaction in the things we maintain, care for, and keep around.
Frequently Asked Questions
What if the fabric is too thin or delicate for a regular needle and thread?
Honestly, I’ve been there—trying to fix a vintage silk slip or a thin linen shirt and feeling like I’m basically stabbing the fabric. If it’s that delicate, put down the heavy-duty needle. You need a “sharps” needle or something super fine; they’re thinner and won’t leave visible holes. Also, grab some fine silk thread or even embroidery floss if you have to. It’s all about working with the grain, not fighting against it.
How do I know if a piece of clothing is actually worth fixing, or if it's time to just let it go?
Honestly, I used to try and save everything, but that just leads to a “to-fix” pile that stresses me out. Ask yourself: Do I actually love wearing this, or am I just sentimental? If the fabric is thinning to the point of transparency or the shape is totally warped, let it go. But if it’s just a broken zipper or a small tear in a piece you reach for every week? Fix it. That’s worth the effort.
I'm terrified of making it look worse—is there a way to make visible mending look intentional instead of just messy?
Look, I get it. The fear of a “failed” repair is real, but here’s the secret: messy only looks messy when it feels like an accident. If you want it to look intentional, lean into it. Use a contrasting thread color—like a bright red on denim—to turn that hole into a design choice. Embrace the “visible mending” vibe. If you’re consistent with your stitches, it stops looking like a mistake and starts looking like art.







