A Step-by-step Guide to Tiling Your Own Backsplash
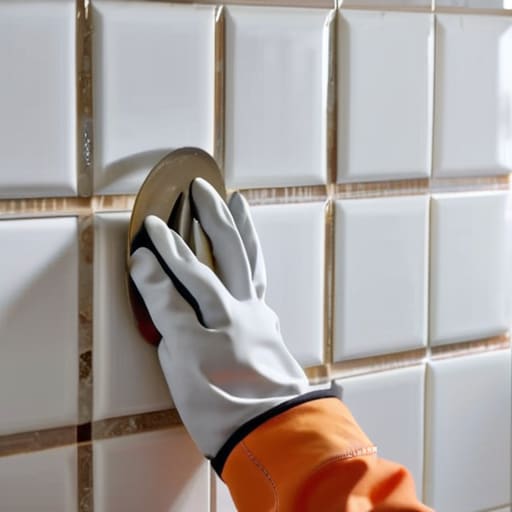
I was standing in my tiny kitchen last Tuesday, staring at a massive, beige expanse of drywall between my counter and cabinets, feeling that familiar wave of “I can’t afford a contractor” dread. Most DIY blogs make it seem like you need a professional-grade studio and a mountain of expensive, specialized tools just to figure out how to tile a backsplash without making it look like a middle school art project. But here’s the truth: you don’t need a designer budget or a master’s degree in masonry to get a clean, intentional look. You just need the right process and a willingness to get a little messy.
In this guide, I’m stripping away all the performative fluff and showing you the actual way to do this. I’ll walk you through selecting budget-friendly tiles that don’t look cheap, mixing your mortar so it’s not a total nightmare, and—most importantly—how to avoid those tiny, frustrating gaps that drive people crazy. We’re focusing on functional, real-world steps that work for small spaces and tight bank accounts. Let’s get your kitchen looking finished without losing your mind or your savings.
Guide Overview
Tools & Supplies
- Tile cutter or wet saw for precise cuts
- Notched trowel for spreading adhesive
- Rubber grout float for applying grout
- Spacers to maintain even gaps
- Level to ensure straight lines
- Backsplash tiles (calculate area + 10% extra)
- Tile adhesive or thin-set mortar (1 bag/container)
- Grout (1 bag/container)
- Tile sealant (1 bottle)
Step-by-Step Instructions
- 1. First things first, you need to prep your space because a messy surface is the fastest way to end up with a lopsided mess. Clean your walls down with a bit of TSP or even just some heavy-duty degreaser to get rid of any old cooking grease. If your current wall is bumpy or has loose paint, give it a quick sand so the adhesive actually has something to grab onto.
- 2. Grab your tiles and lay them out on the floor or a table before you even touch the wall. I know it feels like a waste of time, but you need to see how the patterns work and plan your cuts so you don’t end up with a tiny, awkward sliver of tile in a corner. This is where you decide if you’re starting from the center or working from a corner to keep things looking intentional.
- 3. Now, it’s time to get a little messy with the thin-set. Use a notched trowel to spread a layer of adhesive onto a small section of the wall—don’t do the whole thing at once or it’ll dry out on you. You want those ridges to be even and consistent so the tiles sit flat. If you see huge gaps or clumps, just smooth them out before you start pressing the tiles in.
- 4. Press your tiles into the thin-set with a little bit of wiggle room to make sure they’re seated properly. I usually use a level or even just a straight piece of scrap wood to check that everything is staying straight as I go. If a tile looks wonky, don’t be afraid to pull it up and reset it while the glue is still wet; it’s much easier than trying to fix it later.
- 5. Once your tiles are in place, it’s time for the grout. Mix it up in a bucket until it’s the consistency of peanut butter, then spread it over the tiles using a rubber grout float. Make sure you’re pushing the grout deep into the gaps between the tiles so there aren’t any empty pockets that could crack later.
- 6. After the grout has sat for about 15 to 20 minutes, grab a damp (not soaking wet!) sponge and start wiping away the excess. You’re basically cleaning the face of the tiles while smoothing out the grout lines. If you use too much water, you’ll actually wash the color right out of the grout, so be careful with the moisture.
- 7. Finally, let everything cure for at least 24 to 48 hours before you start leaning heavy appliances against it or scrubbing it. Once it’s dry, you might see a little “haze” on the tiles, which is totally normal. Just buff it off with a dry microfiber cloth, and you’re done. You just saved yourself a massive contractor fee and your kitchen looks actually intentional instead of cheap.
Smart Backsplash Layout Planning Without the Stress
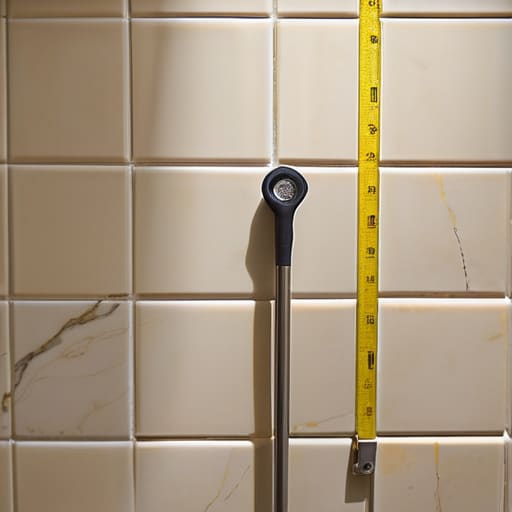
Before you even touch a single piece of tile, you need to sit down and actually visualize the space. I know, it sounds tedious, but good backsplash layout planning is the difference between a professional finish and a DIY disaster that makes you want to cry. Grab your tape measure and find the center point of your wall—not just the center of the counter, but the actual center of the space you’re tiling. Start your layout from there and work your way out toward the edges. This ensures you don’t end up with a full, beautiful tile on one side and a tiny, pathetic sliver of a tile on the other, which is a total vibe killer.
While you’re at it, do a “dry run.” Lay your tiles out on the counter or even on the floor first to see how the patterns interact. This is the best way to practice preventing tile misalignment before the adhesive starts drying. If you’re working with subway tiles or something with a specific pattern, check your lines twice. It’s much easier to adjust a few pieces on the floor than it is to scrape off wet mortar because your rows are looking wonky.
The Essential Tiling Materials Checklist for Real Life
Look, I’ve learned the hard way that nothing kills the vibe of a DIY weekend faster than realizing you’re halfway through a wall and missing a crucial tool. You don’t need a professional contractor’s entire inventory, but you do need a solid tiling materials checklist so you aren’t making three frantic trips to the hardware store. Grab a notched trowel, some spacers, a bucket, and a sponge. If you’re working with anything other than basic subway tile, make sure you have the right notched size for your specific tile thickness; using the wrong one is a recipe for a literal mess.
When it comes to the actual prep, don’t skimp on the basics. I always recommend picking up a decent set of grout spacing tools—those little plastic crosses might look cheap, but they are your best defense against preventing tile misalignment as you work. Also, grab a high-quality sealer. It’s a small extra cost, but it’s the difference between a backsplash that looks great for a month and one that actually survives coffee splashes and pasta sauce spills for years.
Pro-Tips for When You’re Mid-Project and Panicking
- Don’t skip the spacers; I know it’s tempting to just eyeball the gaps to save time, but you’ll end up with a crooked mess that’ll drive you crazy every time you make coffee.
- Mix your thin-set in small batches so it doesn’t dry out on you while you’re still trying to figure out where the third tile goes.
- Keep a damp sponge and a bucket of clean water right next to you at all times because if you let grout dry on the face of your tiles, you’re going to be scrubbing for hours.
- If you realize your first row is slightly off, don’t try to fix it by shoving tiles harder—just stop, pull them up, and reset. It’s better to lose ten minutes now than to have a wonky kitchen for the next ten years.
- Check your tiles for color consistency before you even start sticking them to the wall; sometimes different boxes have slight shade shifts, and you don’t want to realize it halfway through.
The TL;DR: Keeping It Real and Functional
Don’t let the “perfect” Pinterest kitchen intimidate you; as long as your tiles are level and your grout is sealed, it’s a win in my book.
Prioritize quality tools over fancy brands—a decent notched trowel and a steady hand will save you way more money than buying the most expensive gear on the shelf.
Measure twice, cut once, and always leave yourself a little breathing room for mistakes, because perfection is a myth and your sanity is worth more than a single broken tile.
The Final Reveal
At the end of the day, tiling a backsplash isn’t about achieving that untouchable, Pinterest-perfect finish that looks like it was done by a professional crew. It’s about the fact that you actually showed up for your space. You planned your layout, you didn’t overspend on unnecessary specialty tools, and you navigated the messy reality of thin-set and grout without throwing in the towel. If a line is a little crooked or a grout joint isn’t mathematically perfect, guess what? It doesn’t matter. You’ve successfully upgraded your kitchen using your own two hands and a budget-friendly approach that actually works for your real life.
I know that looking at a pile of tiles and a bucket of grout can feel incredibly intimidating when you’re starting out. But once that last bit of grout is wiped clean and you’re standing there with a coffee, looking at something you built yourself, it hits differently. This project is proof that you don’t need a massive renovation budget to make your home feel like yours. Stop waiting for the “perfect” time or the “perfect” skill level to start making changes. Just grab what you need, embrace the intentional mess, and get to work. You’ve totally got this.
Frequently Asked Questions
How do I deal with those annoying, uneven corners or weirdly shaped outlets without everything looking crooked?
Look, corners and outlets are the absolute worst, and they’re usually where DIY projects start looking “DIY.” My rule? Don’t fight the wall; work around it. For outlets, use a tile nipper or a wet saw to make precise cuts—it’s tedious, but it beats a jagged mess. As for those wonky corners, don’t try to force a full tile in there. Just trim them to fit. It’s better to have a clean, intentional cut than a crooked tile that ruins the whole vibe.
Is it actually worth it to buy a tile cutter, or can I just get by with a manual one for a small project?
Honestly? For a small backsplash, don’t go overboard with an expensive electric wet saw. If you’re just doing a single wall, a decent manual tile cutter is plenty. It’s quieter, easier to store in a cramped apartment, and way more budget-friendly. Just grab a handheld tile nipper for those tricky bits around outlets. Save that extra cash for some really nice grout or a better sponge—you’ll actually feel the difference there.
How long do I really need to wait before I start grouting so I don't accidentally ruin the whole layout?
Look, I get the urge to just power through so you can finally see the finished product, but please—don’t rush this. You really want to wait at least 24 hours after your last tile goes down before you even touch the grout. If the thin-set hasn’t fully cured, you’ll end up shifting tiles or creating a total mess. Patience is free; replacing a ruined layout is definitely not. Just let it sit.







