How to Make Custom Curtains Without a Sewing Machine
I was staring at my bank account balance last Tuesday, then looking at those gaping, sun-bleached windows in my apartment, and I realized I was about to make a massive mistake. The internet told me I needed to drop eighty bucks on “aesthetic” linen panels just to feel like a real adult, but my budget—and my conscience—said otherwise. I ended up grabbing an old, oversized cotton sheet from a thrift store and some scrap fabric, and honestly? These diy curtains look better than anything I could’ve bought at a big-box retailer. We’ve been conditioned to think that “handmade” means “messy” or “cheap-looking,” but that’s a total lie.
In this guide, I’m skipping the complicated sewing machine tutorials that require a degree in engineering. Instead, I’m going to show you how to create functional, beautiful window treatments using what you already have in your linen closet or your local thrift shop. We’ll cover everything from no-sew hacks for the impatient to simple stitching for those who want a more polished finish. No performative perfection here—just straightforward, affordable ways to make your space feel like home without draining your savings.
Guide Overview
Tools & Supplies
- Sewing machine for stitching hems and edges
- Fabric scissors for precise cutting
- Measuring tape for window dimensions
- Pins or clips to hold fabric in place
- Iron to press seams flat
- Fabric (2-3 yards depending on window size)
- Thread (1 spool matching fabric color)
- Curtain rod or tension rod
- Measuring tape (if not using tool)
- Sewing pins (1 small box)
Step-by-Step Instructions
- 1. First, go hunt through your linen closet or check your local thrift shop for the perfect fabric. I’m not talking about some high-end, heavy velvet that costs a fortune; I’m looking for old cotton bedsheets, lightweight tablecloths, or even a cool patterned fabric scrap. Just make sure the fabric is large enough to cover your window with a little bit of extra room to spare on the sides.
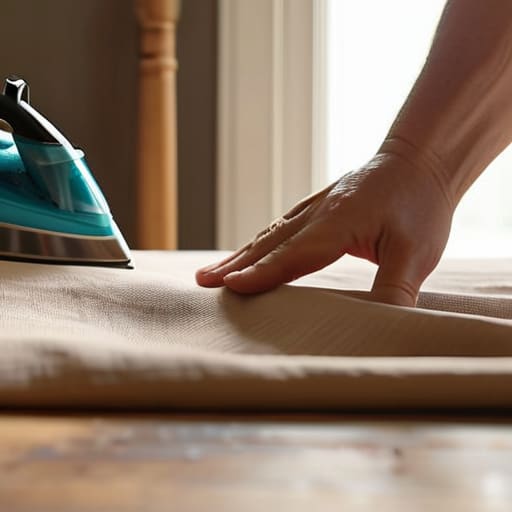
- 2. Once you’ve got your fabric, wash it. I know, it sounds like a chore, but if you’re using a thrifted sheet, you really want to get rid of that “old basement” smell before it hangs in your living room. Let it dry completely, and then iron out those stubborn wrinkles so you aren’t fighting them while you try to sew or pin.
- 3. Now, decide how you want these to hang. If you aren’t feeling particularly brave with a sewing machine, we can go the “no-sew” route using hem tape, but if you want them to look actually intentional, I’d suggest sewing a simple casing at the top. Lay your fabric flat, fold the top edge down about halfway, and pin it in place so you create a hollow tunnel for your curtain rod to slide through.
- 4. If you’re sewing, take your time with the stitches. You don’t need a professional tailor’s precision here, but you do want the line to be relatively straight so the fabric doesn’t bunch up weirdly. If you’re using the no-sew method, just iron that hem tape into the fold and press it hard with a hot iron—it’s a total lifesaver for lazy afternoons.
- 5. Next, you need to figure out the length. Don’t just guess and end up with curtains that hover two inches above the floor like something out of a dorm room. Measure from your rod to where you want the fabric to hit, and leave a little extra for the bottom hem. I personally like mine to just barely skim the floor because it feels a bit more grounded and cozy.
- 6. Finish off the edges by folding the sides in and the bottom up. This prevents the fabric from fraying and gives the whole project a much more finished, polished look. Even if you’re just using safety pins or fabric glue to keep it all together, making sure those edges are tidy is the difference between “accidental decor” and a curated space.
- 7. Finally, slide your rod through the casing and hang them up. If the fabric feels a little too stiff, give it a good shake or even a quick tumble in the dryer to soften the texture. Now, take a second to look around—you just upgraded your room without spending a dime at a big-box home store.
Measuring Windows for Curtains Without the Stress
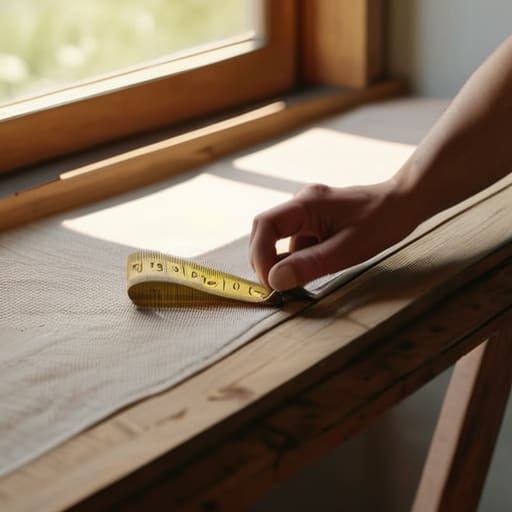
Before you even touch a pair of scissors, we need to talk about the math. I know, I know—measuring feels like the most tedious part, but if you mess this up, you’re going to end up with panels that look like tiny napkins hanging in front of a massive window. When you’re measuring windows for curtains, don’t just measure the glass itself. You want to account for the width of the entire window frame plus a few extra inches on each side. This helps create that fuller, more expensive look without actually having to spend a fortune on extra yardage.
Another thing I’ve learned the hard way: always measure twice, and measure for the height twice. Are you going for a floor-length vibe or something more casual? If you’re aiming for a modern look, aim to have the fabric hover just a hair above the floor. Also, keep in mind how your fabric selection for window treatments might change things; a heavy linen will hang differently than a light cotton voile. Grab your notebook, double-check your numbers, and let’s make sure we aren’t wasting any good material.
Smart Fabric Selection for Window Treatments That Last
Before you even think about hitting the fabric store, let’s get real about what you’re actually looking for. I’ve learned the hard way that picking a pretty pattern is only half the battle; if the material is too heavy, it’ll pull your rod down, and if it’s too thin, you’ll be staring at the streetlights at 3 a.m. When it comes to fabric selection for window treatments, I always suggest looking for something with a bit of weight but enough drape to hang naturally. If you’re hunting through thrift stores—which is where I find my best stuff—feel for the texture. Linen blends are my absolute favorite because they look intentional and high-end without the designer price tag.
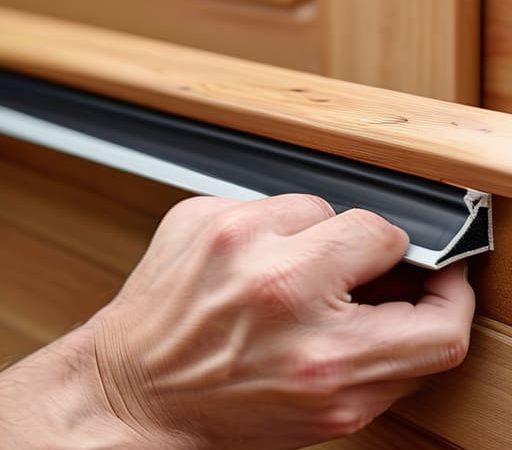
If you aren’t feeling confident about sewing, don’t sweat it. You can skip the sewing machine entirely by using hem tape for curtains to create clean, crisp edges. It’s a total lifesaver for these kinds of budget-friendly home decor projects. Just a quick iron and you’ve got professional-looking edges without the stress of a needle and thread. Just make sure you test a scrap of your fabric with the tape first to ensure it holds up!
5 ways to keep your DIY curtains from looking like a middle school art project
- Don’t sleep on the weight of your fabric. If you’re using a super thin, cheap cotton, it’s going to look flimsy and awkward once it’s hanging. Look for something with a bit of “heft”—even if it’s an old linen tablecloth or a heavy thrifted sheet—so it actually drapes like real curtains.
- Steer clear of the “one-size-fits-all” mentality. If your window is weirdly shaped or tiny, don’t try to force a standard curtain rod to work. Sometimes a simple tension rod or even a piece of driftwood with some twine is a much better (and cheaper) vibe.
- Ironing isn’t optional, even if it feels like a chore. I know, I know, nobody wants to spend an hour at the ironing board, but if you hang up wrinkled fabric, it just looks messy rather than “intentional.” Take the ten minutes to steam or iron them first; it makes a massive difference in how expensive they look.
- Mind your hardware. You don’t need to drop $40 on a designer rod, but avoid the super flimsy plastic ones that bend under the weight of the fabric. A sturdy, secondhand metal rod from a thrift store is way more durable and gives a much more grounded, high-end feel.
- Play with the length. If you can’t hem them perfectly, don’t sweat it—just embrace the “puddle” look by letting them hit the floor, or go for a shorter, cropped look if you’re using a light fabric. The goal is for it to look like a choice, not an accident.
The Bottom Line: Keep it Simple and Sustainable
Don’t feel pressured to buy expensive, heavy fabrics; a thrifted bedsheet or a lightweight linen scrap often hangs better and costs a fraction of the price.
Accuracy is everything—take your measurements twice (or three times if you’re feeling indecisive) so you don’t end up with curtains that look like dollhouse scraps.
Prioritize function over the “perfect” Pinterest look; if the curtains block the light the way you need them to and stay up without a total meltdown, you’ve won.
Finishing Your Windows (Without the Headache)
At the end of the day, making your own curtains isn’t about achieving some Pinterest-perfect, showroom look that requires a professional installation team. It’s about taking those measurements you scribbled in your notebook, picking a fabric that actually survives a wash cycle, and realizing that a few slightly uneven stitches won’t ruin your room. Whether you ended up using thrifted linens or repurposed bedsheets, you’ve successfully bypassed the impulse to spend eighty dollars on a single curtain panel that probably would have felt meaningless once it was hanging up. You’ve managed to dress your space using your own hands and your own budget, which is a massive win in my book.
I know it can feel a little intimidating to start a project when you’re worried about “messing up” or wasting material, but please remember that your home is meant to be lived in, not curated like a museum. If your DIY curtains aren’t perfectly symmetrical, let them be a little wonky—that just gives your space some actual character. The goal was never to create a flawless masterpiece; it was to create a home that feels like you through intentional, sustainable choices. So, hang them up, sit back, and enjoy the fact that you just made your life a little bit better without breaking the bank.
Frequently Asked Questions
How do I make sure my DIY curtains don't look like a messy science project if I can't sew a perfectly straight line?
Look, I’ve definitely had a “science project” moment where my hem looked more like a jagged mountain range than a curtain. If your sewing isn’t straight, stop fighting it. Use iron-on hem tape instead—it’s a literal lifesaver for keeping edges crisp without a needle. Or, lean into the “undone” look. Use clip rings to hang fabric directly; it looks intentional and bohemian rather than just poorly sewn. Precision isn’t the goal; function is.
What should I do if I'm using heavier fabrics, like old thrifted blankets, that feel too heavy for a standard tension rod?
Look, I’ve been there. I once tried to hang a heavy wool thrifted blanket with a tension rod, and it ended up in a heap on my floor ten minutes later. Tension rods just aren’t built for that kind of weight. If you’re working with heavier fabrics, skip the tension rod and go for actual screw-in brackets. It’s a tiny bit more work, but it’s way more sustainable than constantly re-hanging your curtains every week.
Is there a way to make these look a bit more "expensive" without actually spending a ton of money on extra hardware?
Honestly, the “expensive” look usually comes down to how the fabric hangs, not the price tag. First, ditch the tiny rods; go as wide as your window frame allows. It makes the window look massive and intentional. Also, skip the tension rods—they look a bit flimsy. If you can, hang your curtains higher than the actual window frame. It draws the eye up and gives that custom, floor-to-ceiling vibe without the custom price.