Build Your Own Simple Bookshelf From the Ground Up
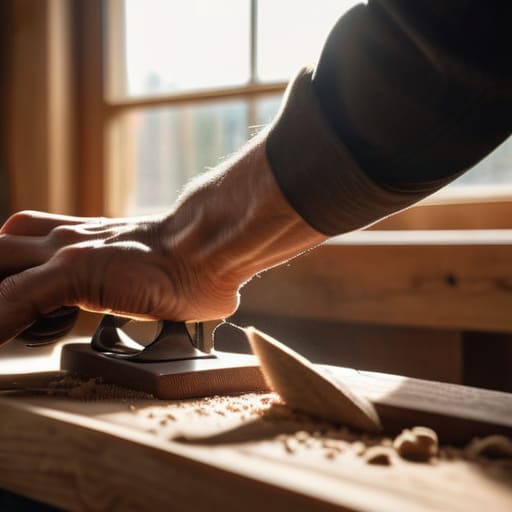
I was staring at a pile of splintered, particle-board scrap from a “budget” flat-pack kit, wondering why I’d spent my entire Saturday afternoon wrestling with a hex key only to end up with a wobbly mess that couldn’t even hold my favorite succulents. It’s the classic trap: we’re told that learning how to build a bookshelf requires a garage full of power tools and a massive bank account, but honestly, that’s just marketing nonsense. You don’t need a workshop or a designer budget to create something that actually holds your weight and fits your specific, cramped corner.
In this guide, I’m stripping away all the performative DIY fluff and getting straight to the point. I’ll show you how to piece together a sturdy, functional unit using basic materials you can actually afford at a local hardware store. We’re skipping the expensive aesthetic hacks and focusing on real-world construction that won’t leave you frustrated or broke. Whether you’re working with a tiny studio apartment or just want to stop buying disposable furniture, I’m going to help you build something that actually lasts.
Guide Overview
Tools & Supplies
- Circular saw or hand saw for cutting wood to size
- Power drill for assembly and securing shelves
- Measuring tape for precision layout
- Sandpaper for smoothing surfaces
- Level to ensure the structure is straight
- 1×6 pine boards (approx. 4-5 pieces)
- Wood glue for strong joints
- 1.5-inch wood screws
- Wood stain or paint for finishing
- Sandpaper (120 and 220 grit)
Step-by-Step Instructions
- 1. First things first, you need to grab some wood. Don’t feel pressured to go to a high-end lumber yard and pick out expensive mahogany; honestly, standard pine boards from a local hardware store are your best friend here. They’re cheap, they’re easy to work with, and they have that lovely, natural look that fits a minimalist vibe perfectly. Just make sure you measure twice before you buy, because nothing kills my momentum like having to make a second trip because I miscalculated a single inch.
- 2. Once you’ve got your wood, it’s time to get those cuts made. If you don’t own a power saw (and let’s be real, most of us don’t), don’t sweat it. Most big-box hardware stores will actually cut the wood for you for a tiny fee or even for free. I usually ask them to cut my side panels and shelves to my exact measurements so I can just focus on the actual assembly when I get home.
- 3. Now, let’s talk about getting everything smooth. There is nothing worse than a splintery, rough shelf ruining a good book or snagging your favorite sweater. Grab some sandpaper—start with a medium grit and finish with a fine one—and really take your time smoothing out the edges and surfaces. It’s kind of therapeutic, actually, if you put on a good podcast and just zone out for a bit.
- 4. Time for the assembly. You’ll want to line up your shelves with the side panels, and I highly recommend using a bit of wood glue along the joints before you drive in your screws. It makes the whole thing way more sturdy in the long run. If you’re worried about the screws looking ugly or splitting the wood, you can use a drill to make “pilot holes” first. It’s a small extra step that saves you a massive headache later.
- 5. If you want that “vintage find” look I’m always obsessed with, this is where you add your finish. You can go with a clear wax to keep it looking raw and natural, or a dark stain if you want something a bit more moody. Just remember to apply thin, even coats rather than trying to do it all at once. It’s better to do three light layers than one thick, gloppy one that never dries properly.
- 6. Finally, once the finish is bone-dry, give it a spot in your space and actually use it. If you live in a place with shaky floors or if you’re planning on loading it up with heavy hardcovers, please anchor it to the wall. It’s not about being paranoid; it’s just about making sure your hard work doesn’t end up as a pile of splintered wood on your floor.
Smart Measuring and Cutting Lumber Without Fancy Equipment
Look, I get it. You see those professional woodworkers with their $500 saws and laser levels, and it feels like you need a whole workshop just to make a simple shelf. You don’t. When I’m working on a furniture restoration or a new project, I’m usually working with whatever I can scavenge or grab from the local hardware store. The secret to measuring and cutting lumber without losing your mind is just slowing down. Use a standard tape measure and a carpenter’s pencil—don’t bother with anything fancy. The most important thing? Measure twice, cut once. It sounds like a cliché because it’s true; one wrong mark and you’re looking at a piece of wood that’s suddenly useless.
If you don’t own a power saw, don’t panic. A simple hand saw is actually a great way to practice your precision, and it’s much easier on your wallet. When you’re selecting your pieces, just make sure you’re looking for boards that are relatively straight. If you’re working with budget-friendly pine, you might have to work around a few knots or slight bows, but that just adds character. Focus on getting your basic cuts as square as possible so your pieces actually fit together later. It’s not about perfection; it’s about making sure the structure is solid.
Choosing Sturdy Bookshelf Design Over Expensive Designer Trends
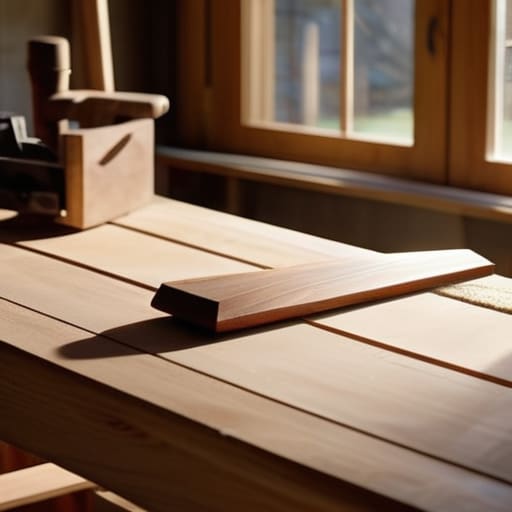
Look, I get it. You scroll through Pinterest and see these sleek, mid-century modern floating units that look like they belong in a museum. They’re gorgeous, but let’s be real: most of them are incredibly flimsy and will sag the second you put a single hardcover on them. When you’re working with a limited budget, you shouldn’t be chasing a specific “aesthetic” that requires high-end joinery. Instead, focus on a sturdy bookshelf design that prioritizes weight distribution. Think thick vertical supports and solid horizontal planes rather than thin, decorative slats that serve no real purpose.
If you’re worried about your space feeling cluttered, you might be tempted to jump straight into wall mounted shelving diy projects. Just a heads-up: unless you’re drilling directly into studs, those “trendy” floating shelves are a recipe for a very expensive pile of broken books on your floor. I’d much rather see you build a classic, floor-standing unit. It’s more forgiving, easier to level, and frankly, it’s much more satisfying to know your hard work isn’t going to cave in under the weight of your collection.
A Few Real-World Truths to Save Your Sanity (and Your Wallet)
- Don’t get seduced by the “aesthetic” wood finishes at the big-box stores. If you’re on a budget, plain pine or even reclaimed pallet wood works perfectly fine once you sand it down and hit it with a decent stain.
- Measure twice, cut once, and then measure a third time. I know it sounds like a cliché, but there is nothing more soul-crushing than realizing you’re an eighth of an inch short when you’re halfway through a project.
- Skip the expensive specialized clamps if you can. Check your local thrift shop or even Facebook Marketplace for some basic hand clamps; they’ll do the job just as well for a fraction of the cost.
- Sanding is the part everyone hates, but don’t skip it. If you want your shelf to feel like something you actually want to keep in your apartment rather than a splinter hazard, spend the extra twenty minutes getting it smooth.
- Always plan for the weight. If you’re a heavy reader with a collection of massive hardcovers, make sure your shelves aren’t too wide without support, or you’ll be dealing with a sad, sagging mess in about a month.
The Bottom Line: Keep It Real, Keep It Sturdy
Don’t get distracted by Pinterest-perfect aesthetics; focus on getting your measurements right and ensuring the structure is actually solid enough to hold your books.
You don’t need a professional workshop to get this done—use what you have, prioritize functionality, and don’t be afraid to get a little messy.
Building something yourself is about more than just furniture; it’s about proving you can create something useful and lasting without needing a massive budget or a designer’s help.
The Finish Line (And What Comes Next)
At the end of the day, building this bookshelf isn’t about achieving some Pinterest-perfect masterpiece that looks like it belongs in a showroom. It’s about the fact that you measured your space, picked out sturdy materials that won’t sag under the weight of your paperbacks, and actually got your hands dirty making something useful. We skipped the overpriced designer kits and the fancy power tools we don’t actually need, focusing instead on a design that is functional, affordable, and built to last. You’ve turned raw lumber into a piece of furniture that actually fits your life and your budget, and honestly, that’s a huge win.
As you start filling those shelves with your favorite reads or even some thrifted plants, try not to obsess over every little imperfection in the wood or a slightly wonky screw. Those little marks are just proof that you made this yourself with your own two hands. Life is way too short to wait until you have the “perfect” studio or a massive budget to start creating the home you want. Stop waiting for the perfect circumstances and just start where you are with what you have. You’ve got this, and your space is going to feel so much more like home because of it.
Frequently Asked Questions
What should I do if my wood isn't perfectly straight or has a few knots in it?
Look, I’m going to be real with you: perfection is a lie, especially when you’re working with budget lumber. If your boards have a slight bow, just try to orient them so the curve faces away from where people will stand. As for knots? Embrace them. They add character. If a knot is huge and looks like it might pop out, just sand it down extra well or hit it with a little wood filler. It’s not a flaw; it’s just part of the story.
How do I make sure the whole thing doesn't wobble or lean once I've put my actual books on it?
Look, there is nothing more soul-crushing than spending three hours on a project only to have it lean like the Tower of Pisa the second you add your hardcovers. To stop the wobble, focus on two things: squareness and bracing. Use a carpenter’s square (or even a book corner) to make sure every joint is a perfect 90 degrees. Most importantly, nail a thin piece of plywood to the back. It’s not “aesthetic,” but it’s what actually keeps the whole thing from folding sideways.
Is there a way to finish the wood so it looks decent without spending a fortune on fancy stains or sealants?
Honestly, don’t even bother with those overpriced, high-gloss designer stains. Most of them just end up looking tacky and smelling like a chemical factory. If you want that warm, lived-in vibe, grab a simple matte wax or even just a bit of beeswax and some mineral oil. It’s cheap, it’s non-toxic, and it makes the wood grain pop without looking like you’re trying too hard. Keep it simple; a little texture goes a long way.







