Handmade Candle Making: a Complete Home Guide
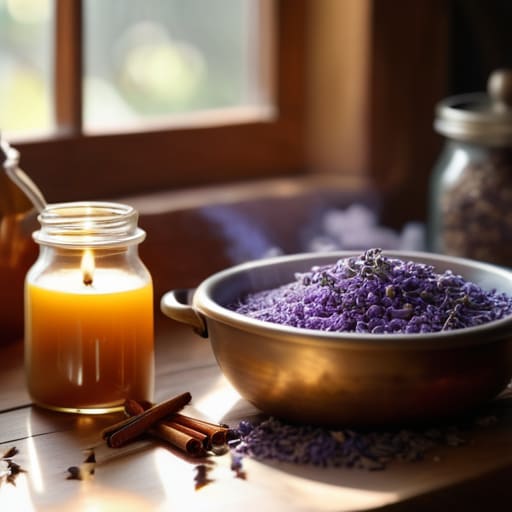
I was halfway through cleaning out a thrifted ceramic bowl I found on the curb last weekend when I realized I was staring at a $35 luxury candle from a high-end boutique that smelled more like chemicals than actual lavender. It felt like such a waste of money and space. Most people think that learning how to make candles requires a massive investment in specialized molds, expensive essential oils, and a dedicated studio space, but honestly? That is total nonsense. You don’t need a curated aesthetic or a huge budget to make something that actually smells good and warms up your apartment.
In this guide, I’m stripping away all the performative fluff and the “influencer-approved” starter kits that cost a fortune. I’m going to show you how to use basic wax, simple wicks, and even those old glass jars sitting in your recycling bin to create something functional and beautiful. We’re focusing on low-waste, budget-friendly methods that work in a real, cramped kitchen. No gatekeeping, no overpriced supplies—just a straightforward way to make your space feel a little more like home without breaking your bank account.
Guide Overview
Tools & Supplies
- Double boiler or heat-proof bowl and pot to melt wax safely
- Thermometer to monitor wax temperature
- Pouring pitcher for controlled pouring
- Scale to measure ingredients by weight
- Soy or paraffin wax (approx. 2 lbs)
- Candle wicks (set of 5-10)
- Fragrance oils (1-2 oz)
- Candle jars or containers (3-5 units)
Step-by-Step Instructions
- 1. First, you need to gather your supplies, but please don’t go running to a specialty craft store and dropping fifty bucks on a “starter kit.” All you actually need is some wax (soy is my go-to because it burns cleaner), some wicks, and a container. I usually scavenge old jam jars or even empty ceramic mugs from the thrift store. Just make sure they’re thoroughly cleaned and dried so the wax actually sticks to the sides.
- 2. Next, grab a heat-proof container—like an old glass measuring cup or a metal pitcher—to hold your wax, and set it inside a larger pot of simmering water. This is called a double boiler method, and it’s way safer than melting wax directly on a burner, which is a recipe for a massive, sticky disaster if you aren’t careful. Just keep the heat medium-low and let it melt slowly.
- 3. While your wax is melting, prep your containers. Take your wicks and use a tiny bit of melted wax or a glue dot to secure the metal base to the center of your jar. If you don’t have a wick holder, don’t sweat it; just use a clothespin or even a couple of chopsticks balanced across the top of the jar to hold the wick upright while things set.
- 4. Once the wax is completely liquid, take it off the heat and let it cool for a minute or two. If you’re using essential oils for scent, this is when you add them. Don’t dump them in while the wax is boiling hot, or you’ll just waste your expensive oils as they evaporate into the air instead of staying in the candle. Stir it gently but thoroughly for about a minute.
- 5. Now comes the part that requires a little patience: the pour. Slowly pour the wax into your prepared jars, leaving about half an inch of space at the top. If you pour too fast, you might create air bubbles, so just take your time with it. If you see any weird divots forming as it cools, don’t panic; you can always fix them later.
- 6. Finally, let your candles sit undisturbed at room temperature. I know it’s tempting to poke them or check them every five minutes, but you really need to leave them alone for at least 24 hours. Once they’re solid, trim the wick to about a quarter inch so it doesn’t smoke like crazy the first time you light it.
Essential Soy Wax Candle Making Supplies Without the Markup
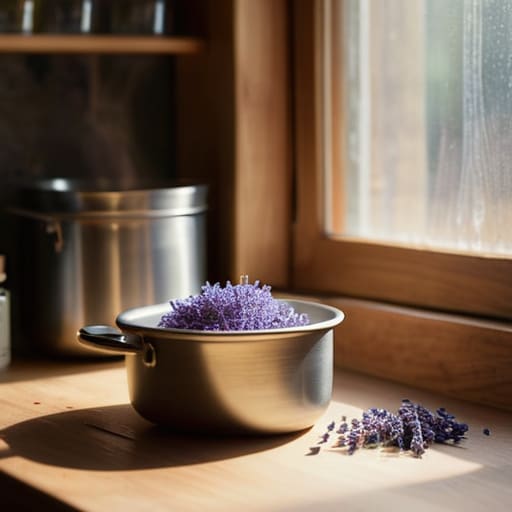
Look, I know the first thing you’ll see when you Google this is a massive list of specialized equipment that looks like it belongs in a chemistry lab. Please, don’t fall for it. You do not need a professional-grade melting pot or designer glass vessels to get started. When I first dove into candle making for beginners, I spent way too much time eyeing these aesthetic, color-coordinated kits online. Honestly? Most of that is just clever marketing. You can skip the expensive “starter sets” and just grab a basic double boiler setup—or even just a heat-safe glass bowl over a pot of simmering water—to melt your wax.
When it comes to sourcing your soy wax candle making supplies, I highly recommend checking local craft stores or even bulk suppliers online rather than those boutique “hobbyist” sites that charge a premium for the same stuff. For scents, don’t feel pressured to buy those massive, pricey fragrance oil collections. If you already have some high-quality essential oils for scented candles in your wellness cabinet, use those. It’s much more sustainable and keeps your costs down while you’re still figuring out your vibe.
Finding the Best Wick Types for Candles That Actually Burn
Honestly, don’t let the massive selection of wicks at craft stores intimidate you. Most people think they need some high-tech, expensive setup, but when you’re just starting out with candle making for beginners, the goal is simply finding a match for your wax type and jar width. If you’re using soy, you can’t just grab any random cotton string and expect it to work. Soy is a finicky beast; it burns slower and cooler, so you usually need a slightly larger or more specialized wick to prevent “tunneling,” which is basically when the wax melts in a narrow hole down the center while the sides stay hard and wasted.
I always tell my friends to test a few different sizes before committing to a huge batch. It’s a bit of a trial-and-error process, but it saves you so much money in the long run. You’ll want to look for cotton or paper-core wicks that can handle the specific burn rate of your soy. Once you find that sweet spot where the melt pool reaches the edges of the glass without the flame getting wild, you’ve nailed it. It’s all about finding that functional balance between a steady burn and actual safety.
Pro-Tips for Candles That Don't Smell Like a Chemical Factory
- Stop obsessing over those expensive, “luxury” fragrance oils you see on TikTok. Most of the time, they’re just overpriced marketing. Start with basic, high-quality essential oils or even some dried herbs from my garden to see how they react with the wax first.
- Don’t just wing the scent amount. I know it’s tempting to dump half a bottle of oil in there to make it “stronger,” but you’ll end up with a candle that smokes like a chimney and won’t even burn straight. Follow a basic ratio—usually around 6-10%—and stick to it.
- Test your containers before you commit. I’ve learned the hard way that some thrifted glass jars get way too hot when the wax is melting, which is a total safety nightmare. Give your jars a quick heat test in the oven (on low!) before you pour anything into them.
- Patience is actually your best tool here. I used to want to light my candles immediately, but if you don’t let them “cure” for at least a week, the scent throw is going to be super weak. Let the wax settle and the fragrance bond; your future self will thank you.
- Keep a “failure log” in that little notebook of mine. If a batch comes out with a weird texture or the wick keeps drowning, write down exactly what you did differently. It’s way easier to fix a problem when you aren’t trying to remember if you used soy or paraffin three weeks ago.
The Real-World Cheat Sheet
Don’t get caught up in the “aesthetic” of expensive candle kits; you can make a perfectly functional candle using basic soy wax, simple wicks, and whatever clean glass jars you already have in your recycling bin.
Focus on how the candle actually burns rather than how pretty the packaging looks—a cheap wick that drowns in wax is a waste of your time and money.
Keep your testing process low-stakes and iterative; if your first batch is a bit wonky, don’t sweat it, just tweak your ratios and try again with what you’ve got.
The Reality of Your First Batch
At the end of the day, making your own candles isn’t about achieving some Pinterest-perfect, professional studio look on your first try. It’s about knowing that you’ve mastered the basics: choosing a wax that actually burns clean, picking a wick that won’t drown in the pool, and skipping the massive markups by using what you have. You might end up with a few wonky surfaces or a scent that’s a little weaker than you expected, but that’s just part of the process. The goal was to stop overpaying for luxury items and start creating something functional with your own two hands, and if you’ve got a jar of wax and a steady hand, you’ve already won.
Don’t let the fear of a “failed” batch keep you from starting. Most of the expensive candles we buy at big-box stores are just mass-produced versions of exactly what you’re doing right now in your own kitchen. There is something incredibly grounding about slowing down, melting a bit of wax, and making something that actually makes your space feel like home. Forget about the perfectionism and just embrace the mess. Once you get the hang of it, you’ll realize that the most sustainable way to live is by making things that work for you, not for an aesthetic.
Frequently Asked Questions
How do I stop my candles from tunneling or having that weird sinkhole in the middle?
Ugh, the dreaded sinkhole. It’s so frustrating when you’ve put in the work and it looks like a crater. Honestly, it usually comes down to two things: your wick size or your first burn. If your wick is too small, it won’t melt the wax all the way to the edges. Next time, try a slightly larger wick. Also, for your first burn, let that candle sit until the entire top surface is liquid. Don’t rush it.
Can I actually use essential oils instead of those expensive fragrance oils, or will it just smell like nothing?
Look, I get the temptation to skip the synthetic stuff, but let’s be real: it’s a trade-off. You can definitely use essential oils, and honestly, I prefer them because they aren’t filled with weird chemicals. But don’t expect that massive, room-filling scent throw you see in expensive stores. Essential oils are more subtle and “earthy.” If you want a faint, calming vibe, go for it. If you want your whole apartment to smell like a vanilla cupcake, stick to fragrance oils.
What do I do if my candle won't stay lit or the wick keeps drowning in the wax?
Honestly, don’t panic—this happens to the best of us. If your wick is drowning, your wick is probably too thin for the diameter of your jar, or you’re pouring the wax too hot. Try centering the wick more securely with a little glue dot or a wick holder. If it won’t stay lit, the wax might be “tunneling.” Trim that wick to about 1/4 inch before every single burn to keep it steady.







