Professional-level Painting Tips for Your Next Room Makeover
I was sitting on my floor last Tuesday, surrounded by half-empty paint cans and a mountain of newspaper that was doing absolutely nothing to protect my cheap laminate, wondering why I felt like such a failure. I’d spent three hours watching “aesthetic” DIY videos that promised a flawless, Pinterest-perfect finish, only to realize they all glossed over the messy, expensive reality of actually getting started. Here’s the truth: you don’t need a professional-grade sprayer or a hundred-dollar set of designer brushes to change your space. Learning how to paint a room shouldn’t feel like a high-stakes exam or a massive blow to your bank account; it should just be a way to make your corner of the world feel a little more like you.
In this guide, I’m skipping the fluff and the “must-have” gadget lists that only serve to drain your savings. I’m going to walk you through the actual, gritty process—from prepping your walls without losing your mind to choosing a color that won’t look depressing in natural light. We’re focusing on functional, budget-friendly steps that yield real results. Whether you’re refreshing a tiny studio or tackling a whole bedroom, I’ll show you how to get it done without breaking your spirit or your budget.
Guide Overview
Tools & Supplies
- Paintbrush for cutting in edges
- Roller and tray for large surfaces
- Painter's tape for protecting trim
- Drop cloth to protect flooring
- Interior paint 1-2 gallons
- Painter's tape 1 roll
- Sandpaper fine grit 1 pack
- Spackle small container for holes
Step-by-Step Instructions
- 1. First things first, clear the decks. You don’t need to move every single piece of furniture out of the room—that’s a recipe for a backache and a mid-project meltdown. Just push everything to the center and cover it with old sheets or cheap plastic drop cloths. Most importantly, clear your surfaces. If you have shelves or desks, get them empty. You can’t properly clean or tape around a cluttered desk, and trust me, trying to paint around a pile of books is how you end up with permanent splatters on your stuff.
- 2. Don’t skip the prep work, even if it feels tedious. Grab a damp cloth and wipe down your walls to get rid of the dust and cobwebs that have been chilling there for months. If you have any weird scuffs or holes from old command strips, grab a tiny bit of spackle, fill them in, and sand them down until they’re actually smooth. If you try to paint over a hole, it’s just going to look like a textured nightmare once the light hits it.
- 3. Now, let’s talk tape. Get some painter’s tape—don’t bother with the super cheap stuff that leaves a sticky residue—and run it along your baseboards, window frames, and the ceiling edge if you aren’t painting that too. The trick to not getting a jagged line is to press the edge down firmly with your fingernail or a putty knife. If there’s even a tiny gap, the paint will seep under, and you’ll be spending your entire weekend scrubbing dried pigment off your trim.
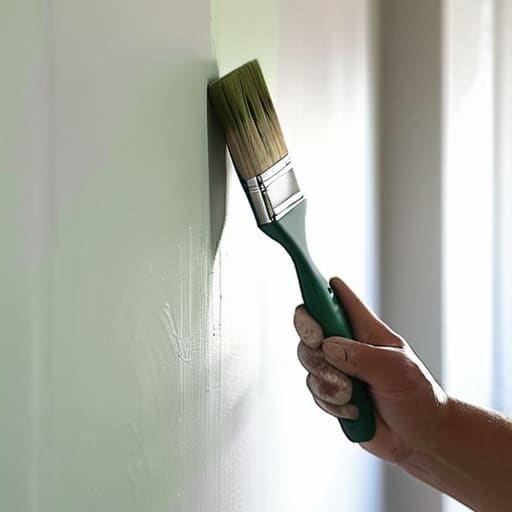
- 4. Grab your roller and start with the “cutting in” phase. This is just a fancy way of saying you’re painting the edges where the roller can’t reach. Use a small brush to paint a border about two or three inches around the corners, the ceiling, and the baseboards. Don’t go too far ahead of yourself; you want to work in sections so the edges stay relatively wet when you start rolling the main walls. This prevents those weird, harsh lines where the brushwork meets the rollerwork.
- 5. Time for the heavy lifting. Dip your roller into the tray, roll it around to get an even coat, and start applying the paint in a “W” or “M” pattern on the wall. This helps distribute the paint more evenly so you don’t end up with those annoying streaks. It might feel like you’re doing too much, but it’s much better to do two thin, even coats than one thick, gloopy layer that takes three days to dry and looks like melted cheese.
- 6. Once the first coat is dry (and I mean fully dry, so don’t rush it), do it all over again. It’s tempting to just slap it on and call it a day, but the second coat is what actually gives the color its depth and makes it look professional. If you notice any spots that look a little patchy, just hit them with a bit more. It’s a small investment of time that makes the final result look intentional rather than accidental.
- 7. The most satisfying part: the reveal. Wait until the paint is mostly dry to the touch before you peel that tape off. Don’t wait until the next day when it’s rock hard, or you might actually pull chunks of the new paint right off the wall. Peel it back at a slow, steady angle to get those crisp, clean lines we were aiming for. Then, toss the trash, wash your brushes, and finally sit in your new space and actually enjoy it.
Your Essential Painting Supplies Checklist Without the Fluff
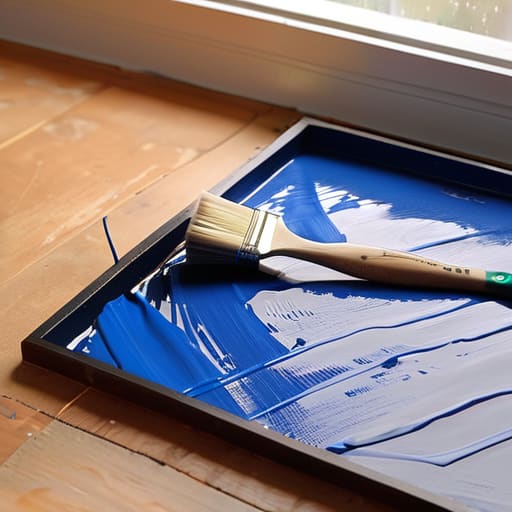
Look, I’ve been to the big-box hardware stores, and I know how easy it is to walk out with a cart full of stuff you’ll never use again. You don’t need a professional-grade sprayer or a dozen different brush shapes to get the job done. My personal essential painting supplies checklist is pretty stripped back: a decent angled brush for the edges, a medium nap roller, a sturdy tray, and enough painter’s tape to keep your sanity intact. If you’re working with a tight budget, prioritize the quality of your roller and brush; a cheap brush will just leave streaks that make you want to cry later.
Don’t skip the prep work, either. I know it feels tedious, but protecting furniture while painting is the difference between a fun weekend project and a total disaster. Grab some old bedsheets or cheap drop cloths—don’t bother with those expensive heavy-duty plastic rolls unless you’re painting a whole house. Also, a quick tip on the actual liquid in the can: don’t get distracted by the “designer” lines. Just find a reliable, mid-range brand that offers decent coverage so you aren’t spending your entire Saturday doing five unnecessary coats.
Real Talk on How to Prep Walls for Painting
Look, I know the temptation to just grab a brush and start slapping color onto the walls, but if you skip the prep, you’re basically setting yourself up for a mid-project meltdown. I’ve learned this the hard way while trying to refresh my tiny apartment. Most of the “magic” in a professional-looking finish actually happens before the can is even opened. When you’re figuring out how to prep walls for painting, the secret isn’t expensive chemicals; it’s just being thorough. Grab a damp cloth and wipe down those dusty baseboards and corners. If there are tiny holes from old picture frames, don’t just paint over them—that’s how you end up with weird textures that catch the light in the worst way.
Also, please, please don’t underestimate the chaos of a messy room. You don’t need a professional crew, but you do need to be smart about protecting furniture while painting. Drag your heavy stuff to the center of the room and cover it with old sheets or cheap drop cloths from the hardware store. It’s way easier to move a chair once than it is to spend your entire Saturday scrubbing accidental splatters out of your rug. Take the extra twenty minutes now so you aren’t stressed later.
Five Ways to Keep Your Sanity (and Your Floors) While Painting
- Don’t trust the tiny sample pots. Seriously. Buy a small sample, paint a big patch on your wall, and look at it at different times of the day. That “perfect” sage green looks completely different under your warm bedside lamp than it does in the harsh midday sun.
- Stop trying to be a hero with cheap brushes. I used to buy the cheapest ones at the dollar store, but then I’d spend three hours picking dried bristles out of my fresh paint. Spend the extra five bucks on a decent synthetic brush; your wrists (and your patience) will thank you.
- The “two-coat rule” isn’t a suggestion, it’s a necessity. I know it’s tempting to stop after one coat because you’re tired and just want to sit down, but you’ll end up frustrated when the color looks streaky and uneven. Do it right the first time so you don’t have to redo it next week.
- Protect your stuff like it’s precious—because it is. Don’t just throw a thin sheet of plastic over your thrifted rug and call it a day. Use actual drop cloths or even old towels you don’t mind staining. One accidental drip of dark navy paint can turn a “project” into a “regret” real fast.
- Work in small, manageable chunks. If you try to tackle an entire living room in one frantic afternoon, you’re going to end up burnt out and with messy edges. Just aim to finish one wall or even just the trim. It’s much better to have one finished corner than a whole house that looks half-done.
The TL;DR on Not Ruining Your Weekend
Prep is everything—if you skip the cleaning and patching because you’re “in a rush,” you’ll end up spending twice as long trying to fix wonky lines and uneven textures later.
Don’t let the hardware store intimidate you; you don’t need the most expensive professional-grade kit to get a solid result, just decent tools that won’t fall apart mid-stroke.
Focus on the process, not the “perfect” Instagram reveal; it’s okay if there are some drip marks or if it takes a little longer than planned, as long as the space feels like yours when you’re done.
The Final Layer
Look, if you’re standing in the middle of your room staring at a half-finished wall and feeling like you’ve made a huge mistake, just breathe. You’ve done the hard part: you prepped the surfaces, you didn’t overspend on tools you’ll never use again, and you actually followed a process. Whether your lines aren’t perfectly straight or you realize you picked a shade that’s slightly darker than the swatch, remember that imperfection is part of the charm. It’s not about achieving a showroom-ready finish that looks like a sterile render; it’s about the fact that you took a space that felt stale and made it yours with your own two hands.
At the end of the day, this project wasn’t just about changing a color; it was about reclaiming your environment without needing a massive renovation budget. You don’t need a professional crew or a designer’s bank account to create a sanctuary that feels intentional and calm. Once the paint dries and you finally sit down in that newly transformed space, you’ll realize that the most rewarding part is the agency you’ve reclaimed. You didn’t just paint a room—you proved to yourself that you can shape your world using exactly what you have. Now, go grab a drink, sit in your new space, and actually enjoy it.
Frequently Asked Questions
How much paint do I actually need to buy so I don't end up with five extra cans or, even worse, running out halfway through the second coat?
The “math” part of DIY always stresses me out, but don’t let it paralyze you. Most standard gallons cover about 350 to 400 square feet. To figure this out without a degree in geometry, just measure your wall’s width and height, multiply them, and subtract the windows and doors. My rule of thumb? Always plan for two coats. If you’re cutting it close, grab one extra quart. It’s cheaper than a mid-project emergency run.
Is it really worth spending the extra money on "premium" paint, or can I just get the cheap stuff and make it work?
Look, I get the temptation to grab the cheapest gallon on the shelf, but honestly? Save your sanity and spend the extra few bucks on decent paint. Cheap paint is often thin and full of fillers, meaning you’ll end up doing three or four coats just to hide the old color. That’s more time, more effort, and—ironically—more money spent on supplies. Buy a mid-range brand; it covers better and actually lasts.
How do I fix those annoying little holes or cracks in the wall without it looking like a total mess once the paint dries?
Honestly, don’t go buying a whole tub of heavy-duty spackle if you’re just dealing with nail holes. Grab a small container of lightweight spackle—it’s way easier to smooth out. The trick is to use a putty knife to press it in, then swipe it flat so it’s almost flush with the wall. Don’t overwork it; let it dry completely, sand it lightly with a fine-grit sponge, and then paint. Keep it simple.







